
Google Calendar has redefined what’s possible with a calendar. It’s packed with so many features that it’s hard to wrap your head around what you can do with it.
This can often mean that you’re missing out on opportunities for optimizing and automating your workflow. In this article, we’ll show you 15 great tips for Google Calendar. These tips will make you an expert in using your calendar in your day-to-day life!
All of the tips we’ll talk about are built into Google Calendar. But, if you wish to connect it to other web apps, you can use an extension like Bardeen. It is a workflow automation Chrome extension.
Once installed, it’ll allow you to perform automations with Google Calendar and other web apps that are not always possible natively, like copying Google Calendar meetings to Notion and sending a Slack message to the current event participants. If you want to get started, it’s free. We’ll mention a few useful automations in this article.
Now, let’s dive in and get started with the top 15 Google Calendar tips.
Here are three tips that’ll help you get things done better and quicker in Google Calendar.
Ah, keyboard shortcuts! We all love them. You’ll be happy to know that Google Calendar comes with its own set of keyboard shortcuts. Just tap the “?” button on your keyboard, and a pop-up window will appear listing all of them.
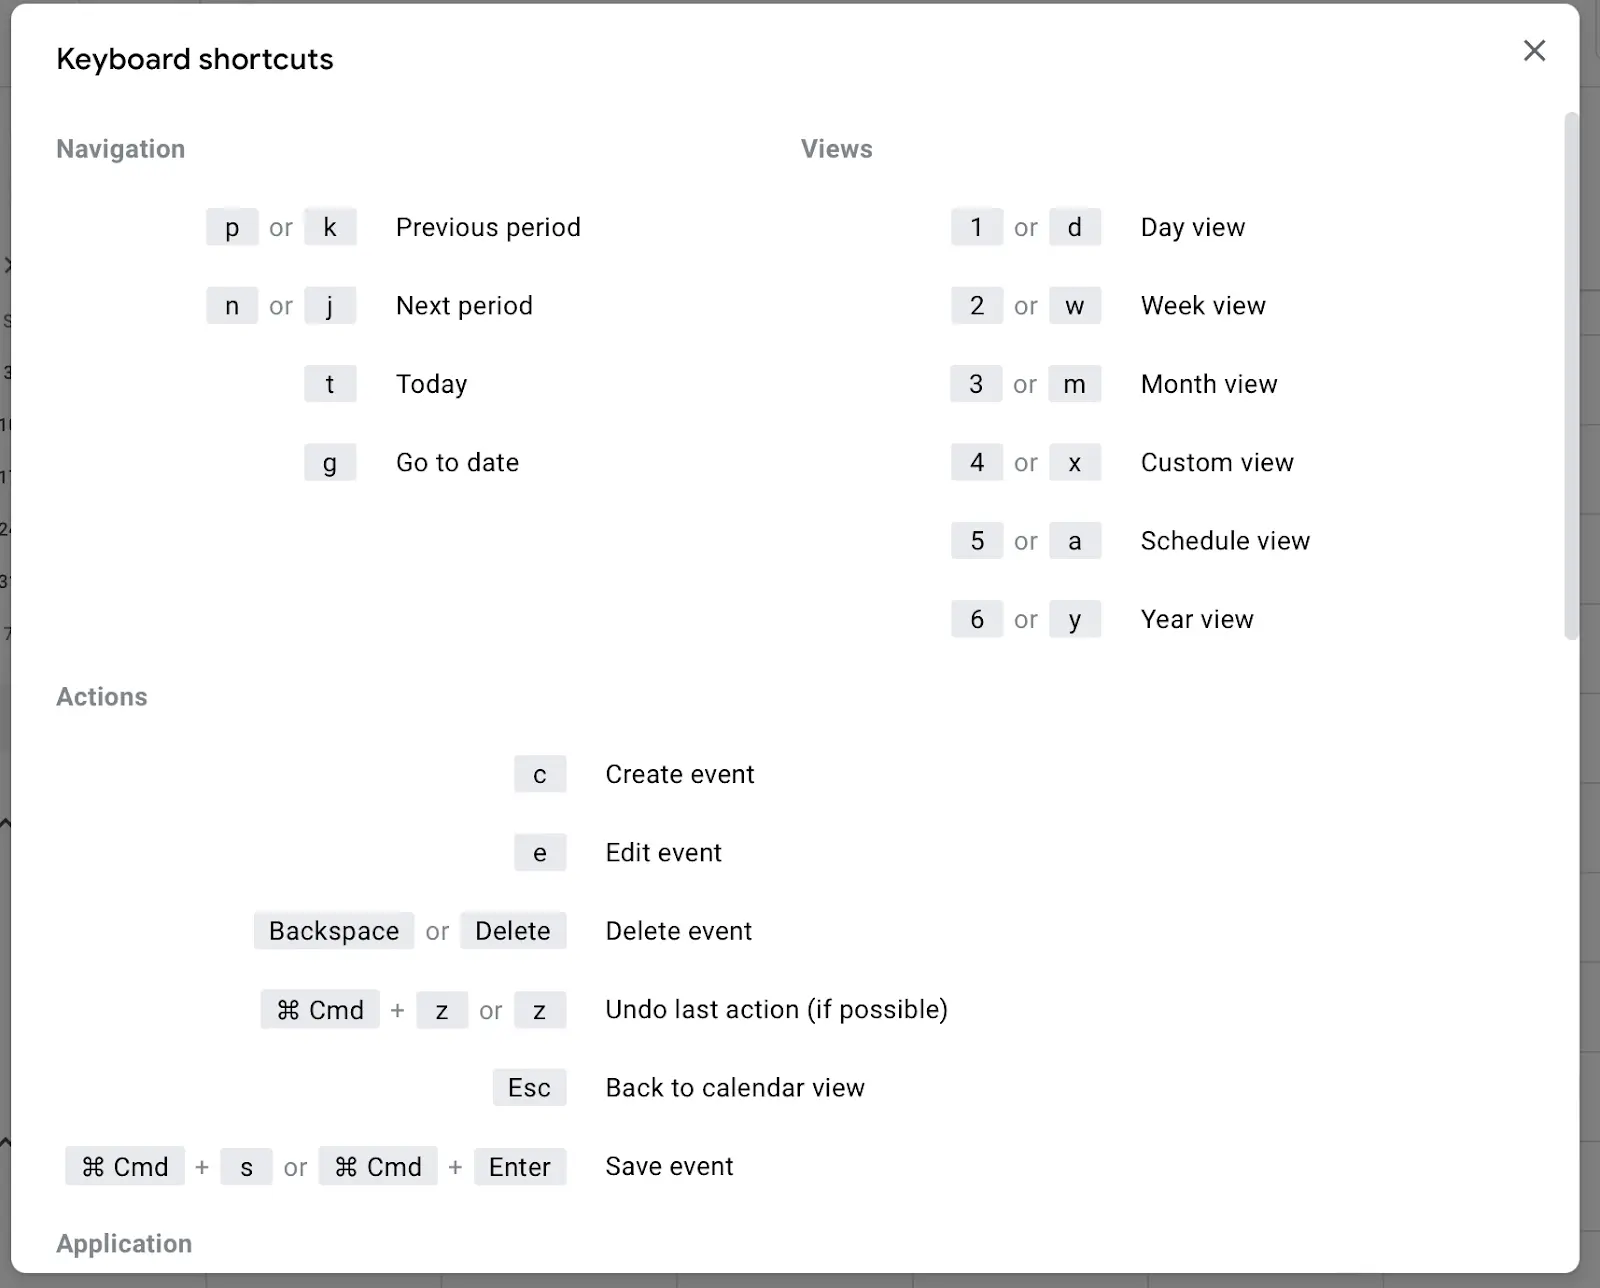
To ensure that keyboard shortcuts are enabled, click the gear icon at the top-right of the window, Settings, and scroll down to Keyboard shortcuts under General.

From changing your calendar view to deleting an event, getting the hang of these shortcuts can save you a few minutes every day. Check this Support page for more info about Google Calendar keyboard shortcuts.
To stay on top of your game, it’s always important to know what you have in store for the day. This can help you prepare yourself to crush your goals. You can get your daily agenda emailed to you by Google Calendar.
Choose the calendar you want to receive your daily agendas for under My Calendars and click on the ellipses next to it. From the drop-down menu, click on Settings and sharing. Scroll down to Other notifications, and enable Email for Daily agenda.
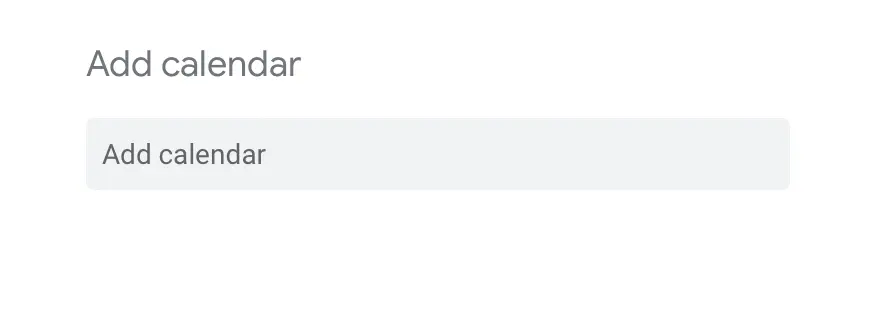
Sometimes, creating a separate calendar for different parts of your life can keep things organized. Click the ‘+’ sign next to Other calendars. From the drop-down menu, choose Create new calendar. On the next page, add relevant details and click Create calendar.
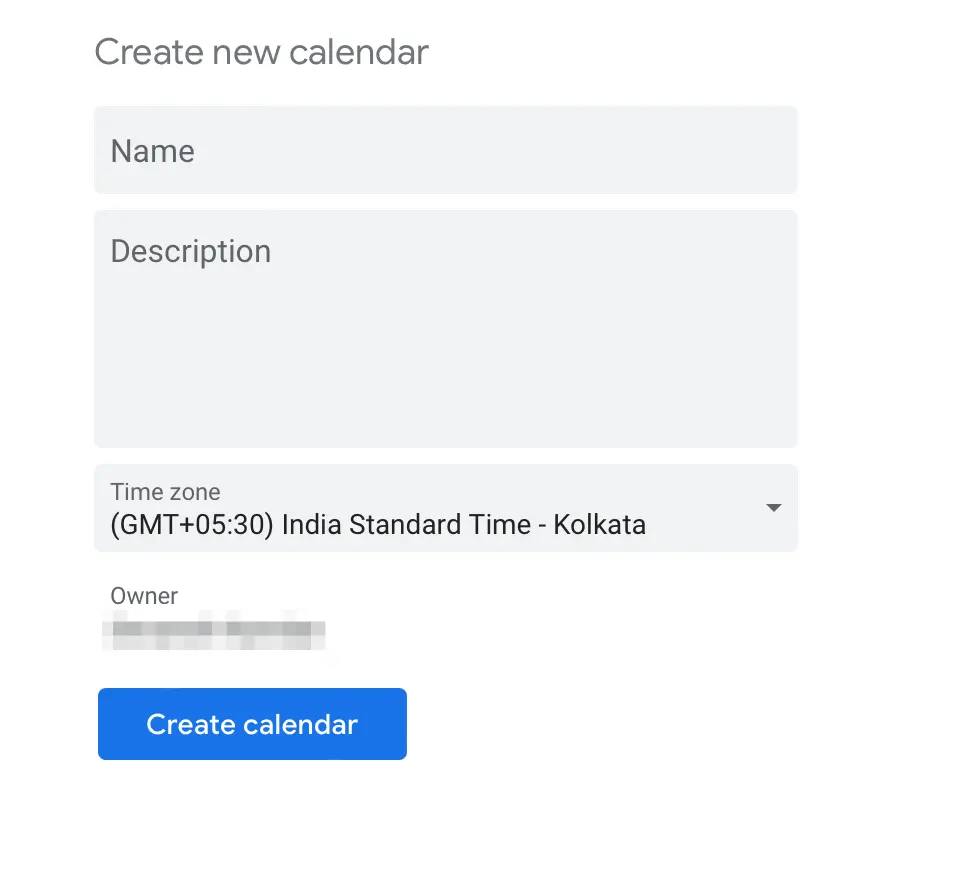
An easy way to distinguish between your calendars is to give each a unique color. For this, you can click on the ellipses next to the calendar and select a color for it!
Google Calendar is often used best in collaboration with other people. Whether you want to share your calendar with other users or want to get access to someone else’s calendar, you’ll find useful tips in this section.
To share your Google Calendar with another user, choose the specific calendar you want to share under My Calendars and click on the ellipses next to it. From the drop-down menu, click on Settings and sharing.
On the next page, scroll down to Share with specific people. Click on ‘+ Add people’ and type in the email addresses of people you want to allow to view your calendar.
For security purposes, ensure that you give them the correct level of access. Google Calendar gives you four permission levels, ranging from ‘See only free/busy’ to ‘Make changes and manage sharing.’ Choose wisely.
What if you want to make your calendar accessible publicly rather than to only selected users? For that, go to the Access permissions for events section and enable Make available to public. You can copy a shareable link if you need it.
You can also make your calendar available to users who might not have a Google account. Scroll down to Integrate calendar and copy the link under Public URL to this calendar.
Embedding your Google Calendar on a website can be great for many reasons. Choose the calendar you want to share under My Calendars and click on the ellipses next to it. From the drop-down menu, click on Settings and sharing.
Ensure that the Make available to public checkbox is enabled. Then, scroll down to Integrate calendar. Under Embed code, you’ll find a snippet of code. Copy it and add it to the website or webpage you want your calendar in.
If you wish to customize it to match the website’s theme or for some other reason, click on the Customize button under it. You’ll be taken to a new page where you can choose various settings, like which modules will be displayed, background color, default view, and more!
We just saw how you can allow other users to access your calendar and how you can embed it into a webpage. But what if you need access to a friend’s or colleague’s calendar?
To request permission to another user’s calendar, follow these steps. Click the ‘+’ icon next to Other calendars and select Subscribe to Calendar.
Here, you can type in the Gmail address of the account related to the Google Calendar you want to view. Be sure to add a friendly note so they have a better chance of accepting it! If they do, their calendar will appear below Other calendars. You can check or uncheck the box next to it to overlay their events on top of your own.
We saw how to share your Google Calendar in the above section, but what if you want to connect it with third-party apps? Let’s learn more about that!
There are two main ways to embed Google Calendar in Notion.
First, the native method. For this, you need to make your calendar public. Then, copy an embed code (remember Tip 5?) and paste it into a block in Notion.
Bardeen also offers ready to use automations for Google Calendar and Notion which you might find useful.
Feel free to download Bardeen and try out these automations! For step-by-step instructions on how to embed Google Calendar in Notion.
Explore more Google Calendar and Notion integrations.
If you’re a big fan of Zoom, you’ll be happy to know that they’ve developed an add-on for Google Calendar. It lets you schedule a Zoom meeting with details extracted from an email, add Zoom meeting details to your Google Calendar invitation, and customize meeting options. Check it out, it’s free.
In addition to this add-on, there are many awesome Zoom-related Bardeen automations that work with Google Calendar. Here are some of them.
If you like to take notes during an event, these Notion and Google Docs automations will automatically create a new document for you a minute before it starts. Between the add-on and these automations, you can create a good sync between Zoom and Google Calendar!
Usually, the effectiveness of a meeting is determined by the amount of action that was taken following it. To ensure that all discussed action items were implemented, it’s always good to have a follow-up meeting.
These automations for Trello and Asana will create a task reminding you to follow up on a meeting.
If you’d like to get everyone on board, you can use this automation to send an email out to all event participants.
Arranging a follow-up meeting can be tedious. This automation for Zoom will handle it for you—it’ll create a follow-up meeting with a Zoom link using the same participants in the last meeting!
Bonus Tip: Use Motion's AI task manager to automatically find the perfect spot in your calendar for your follow-up.
According to a study by the University of North Carolina, around 71% of meetings are unproductive. Yikes! If you attend a lot of meetings, it can be tough to manage them in Calendar. Here are some tips that might help out.
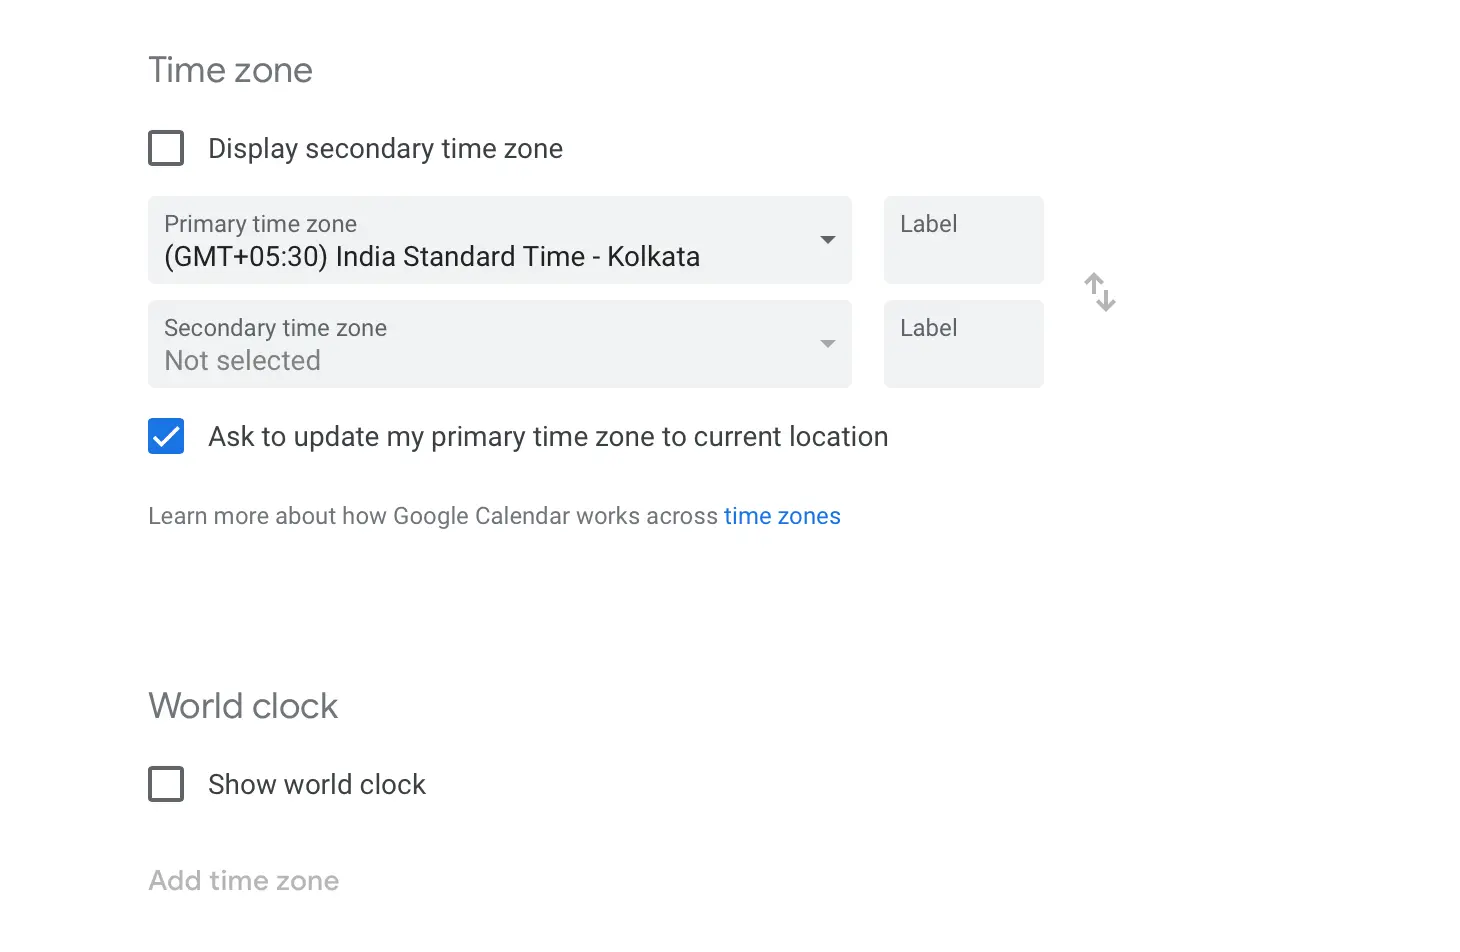
If you have meetings with colleagues who live on the other side of the planet or travel often, you might have a hard time dealing with a different time zone. To help you with that, you can add a secondary time zone to Google Calendar.
Click on the gear icon and click on Settings. In the Time zone section, you can add a secondary time zone to your calendar. Scroll down further and you’ll see a World clock. It can come in handy if your team is based in different countries.
In addition to this, also consider adding regional and sports-based holidays. Click on the ‘+’ icon beside Other calendars and choose Browse calendars of interest in the drop-down menu. Browse through the list and check the box of any that you’d like to add to your calendar.
If you have many participants in a meeting (especially if they’re from different time zones) it can be a challenge to set a meeting time that is suitable for everyone.
Whenever creating an event, click on Find a Time beside Event Details. Be sure to add all the participants so you can find a suitable time for the meeting.
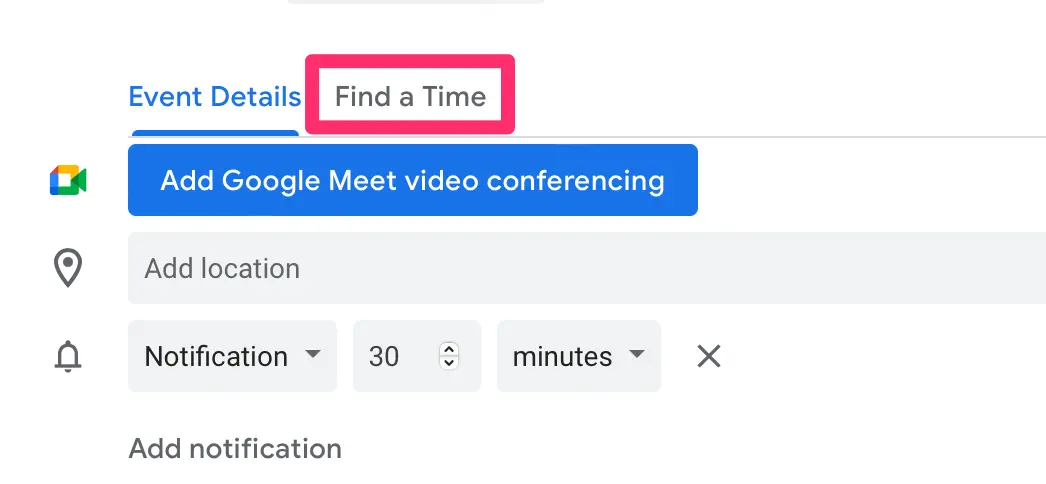
The Suggested times feature removes the guesswork from the equation and shows a list of times that are possible for all participants.

Whenever planning a new event, definitely try out these two features!
To have a great meeting, it’s always important for all participants to join on time. Otherwise, you are left twiddling your thumbs, waiting for everyone to be present. For this, there are two great Bardeen automations that you can try out.
Using these, you can ensure that all participants are reminded of the meeting beforehand and have sufficient time for preparation!
As Benjamin Franklin said, “For every minute spent in organizing, an hour is earned.” Keeping your Google Calendar organized is essential for productivity. Let’s look at a few tips to do that.
Notifications. Love ‘em or hate ‘em, they’re everywhere. Optimizing your notifications can help you show up to events on time.
To change the default notification settings for a specific calendar, click on the ellipses beside and select Settings and sharing. Scroll down to Event notifications.
Whether you want to add more notifications or remove the existing ones, you can do that here. To add a new notification, click on ‘+ Add notification’ and specify the time (minutes, hours, days, or weeks) and if you want to receive it via email.
You can also customize the settings of a particular event. Open the page to edit it. Below Add location, you can change and add new notifications for that event!
If your calendar is almost overflowing with events, you can adjust the view to make it more clear.
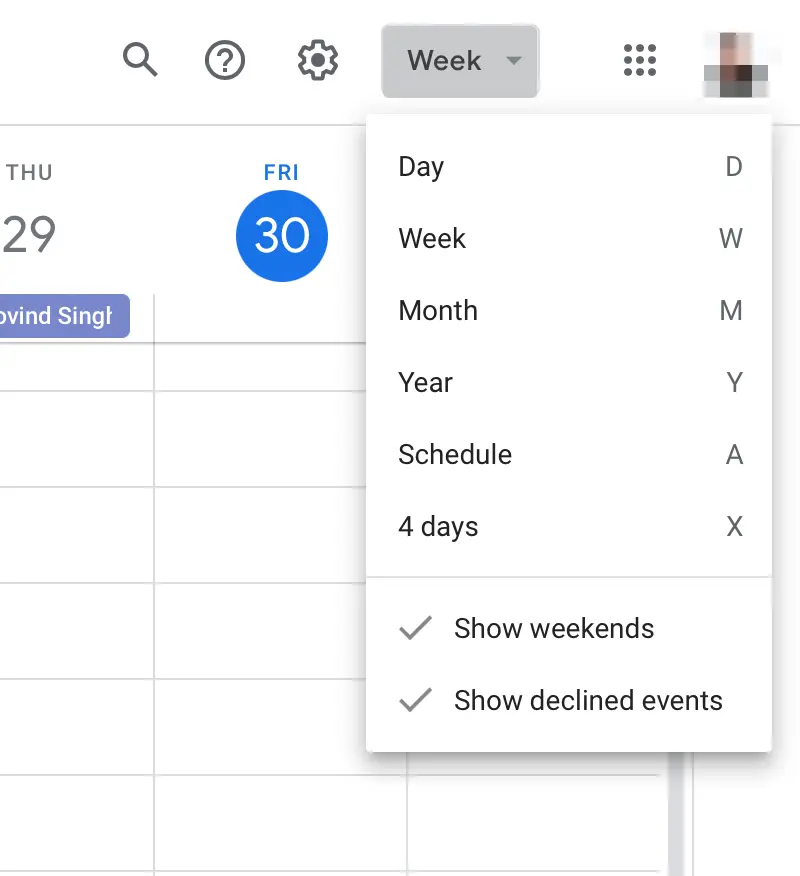
Click on the dropdown menu next to the gear icon, and you can choose your preferred view. You can also exclude weekends and declined events if you want.
To adjust your calendar view on the go, there are also keyboard shortcuts for it. Scroll up to Tip 1 to learn more about this.
A big step in organizing your Google Calendar is setting a default duration for events. To do this, click on the gear icon, click on Settings, and scroll down to Event settings.
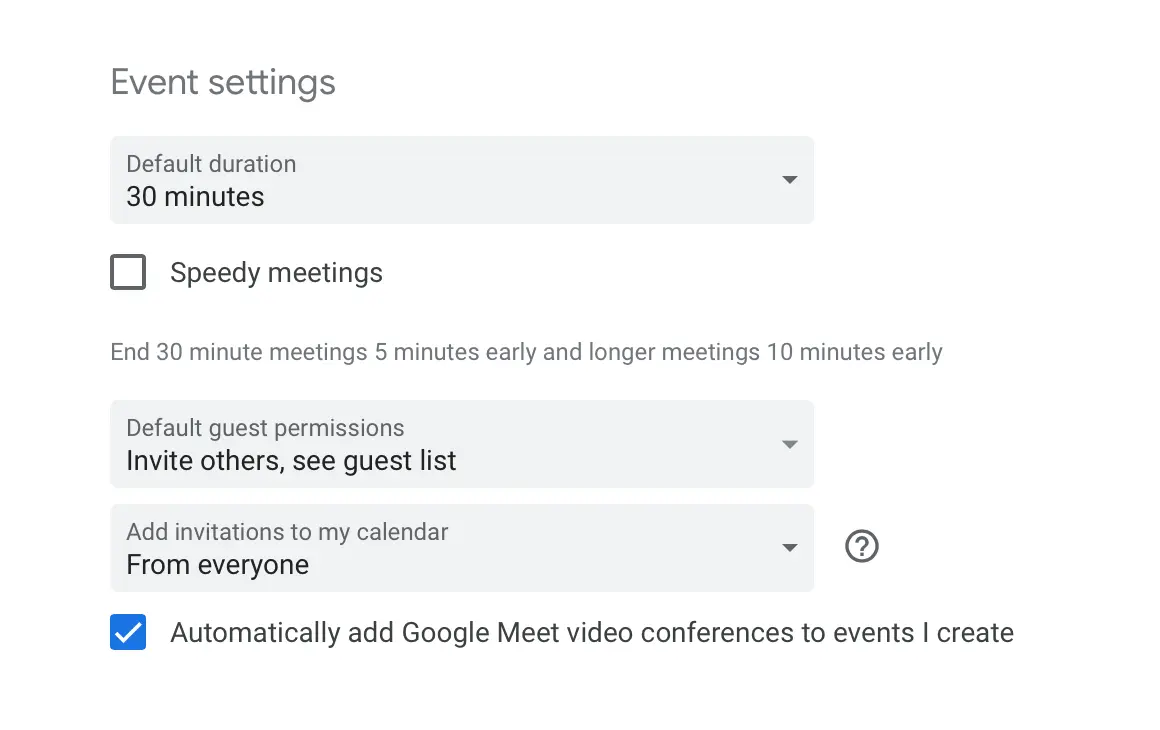
Click on the Default duration button and select your preferred time from the drop-down menu, ranging from 15 to 120 minutes. You can also enable the Speedy meetings feature, which’ll shorten your preset meeting time by around 5 to 10 minutes. In addition to this, setting clear working hours can also improve your work-life balance. Check this Support page for more info on that.
With these 15 tips, you’re now ready to do more with Google Sheets than before. You can now use keyboard shortcuts, customize notifications, add multiple time zones, and much more!
If put into action, these tips won’t only elevate your Google Calendar experience but also bring about a significant improvement in your overall time management.
Now that you know the best native Google Calendar features, it’s time to go to the next level and experiment with automations. You can download Bardeen on Chrome.


SOC 2 Type II, GDPR and CASA Tier 2 and 3 certified — so you can automate with confidence at any scale.


