App Tutorial

Mass Email Campaigns in HubSpot: A Step-by-Step Guide

author
Jason Gong
App automation expert
Apps used
HubSpot
LAST UPDATED
May 14, 2024
TL;DR

Sending mass emails in HubSpot requires a paid subscription and involves a multi-step process using the platform's email editor. Here's a quick guide:

  • Navigate to Marketing > Email and click Create email.
  • Choose an email type and template.
  • Customize your email's content, layout, and conduct A/B testing.
  • Preview, send immediately, or schedule your email.

Automate your HubSpot email tasks with Bardeen to save time and enhance productivity.

Sending mass emails through HubSpot can be a powerful way to reach your audience and drive engagement. In this step-by-step guide, we'll walk you through the process of efficiently setting up, customizing, testing, and sending mass emails using HubSpot's comprehensive email management tools. By following these best practices and leveraging HubSpot's features, you can create effective email campaigns that resonate with your target audience and achieve your marketing goals.

Understanding HubSpot's Email Management Capabilities

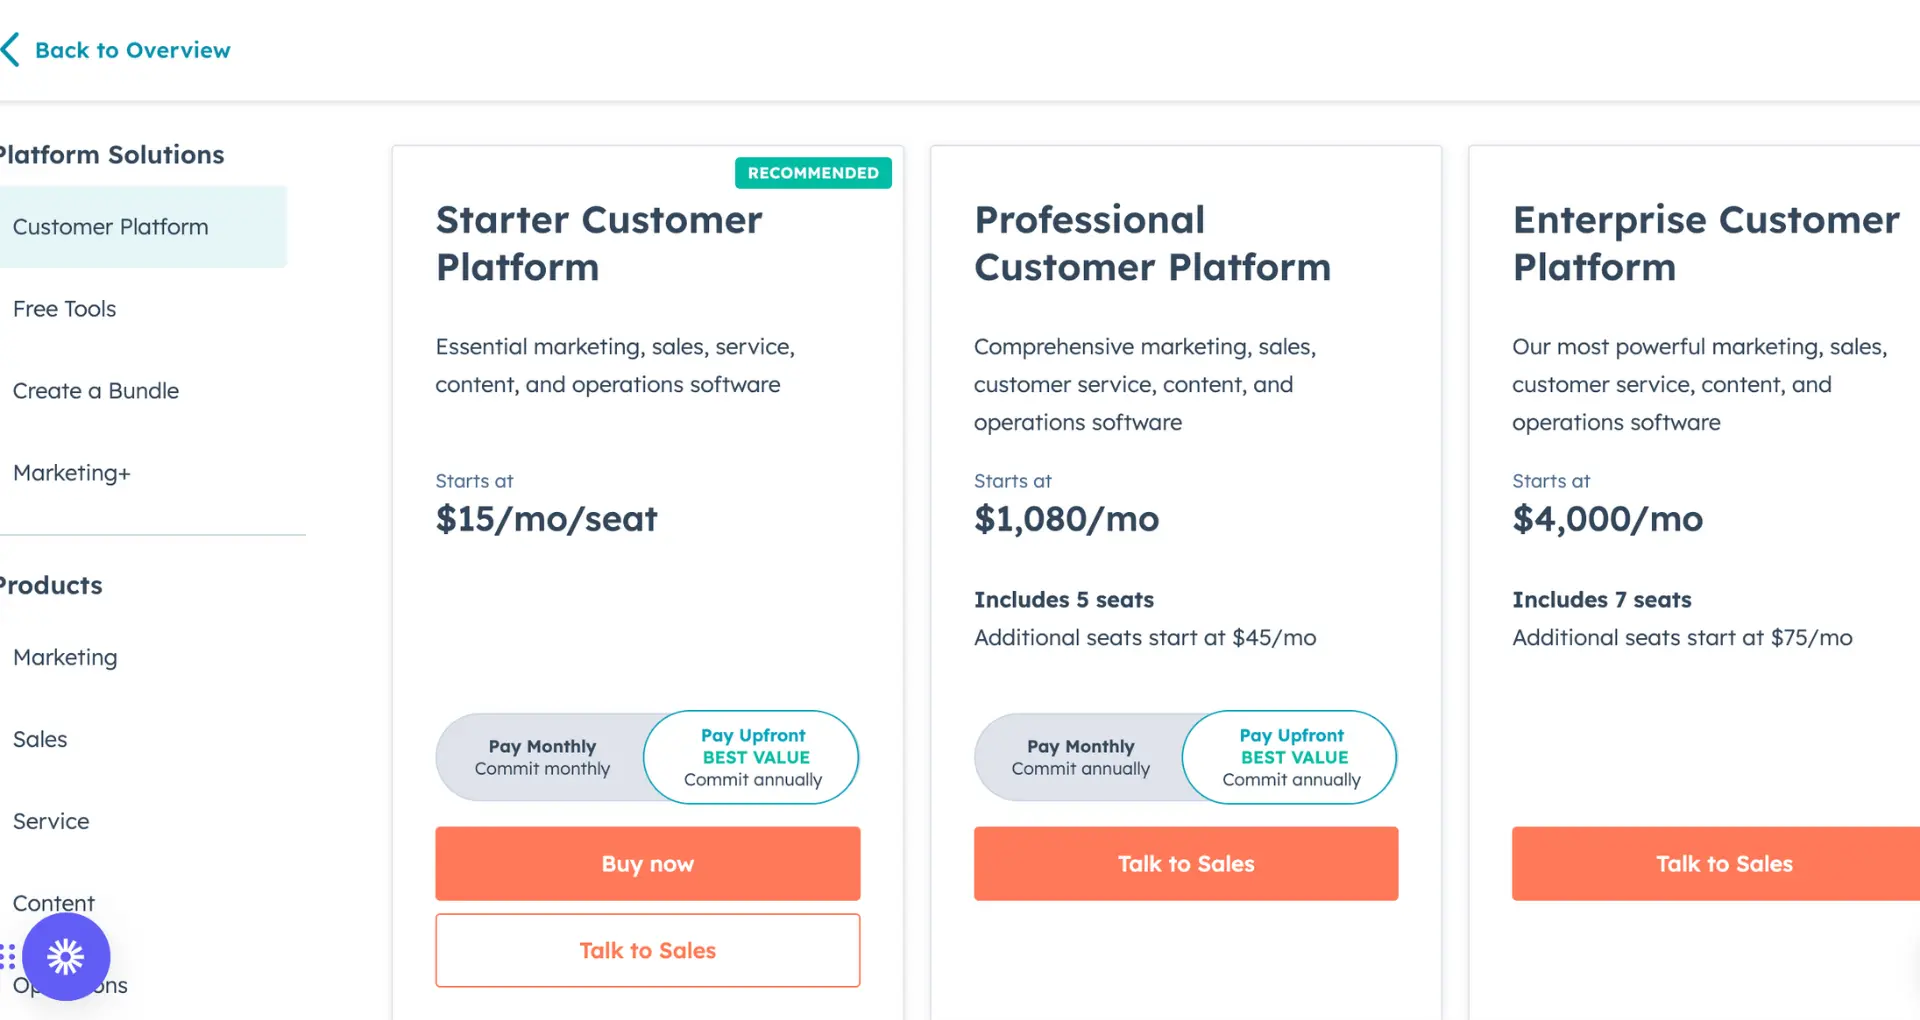
HubSpot offers a range of email management capabilities, with different features available depending on your subscription plan. The Marketing Hub Professional and Enterprise plans provide access to advanced mass email tools, allowing you to create personalized email campaigns effectively.

Some of the primary features of HubSpot's email tools include:

  • Classic email editor: A simple, user-friendly interface for creating and editing emails
  • Drag-and-drop editor: A more advanced tool that allows you to easily customize your email layout and design without coding knowledge
  • Personalization tokens: Dynamically insert recipient-specific information into your emails to create a more personalized experience
  • A/B testing: Test different versions of your emails to optimize performance and engagement
  • Detailed analytics: Track key metrics such as open rates, click-through rates, and conversions to measure the success of your campaigns

By leveraging these powerful email management capabilities, you can create targeted, effective email campaigns that resonate with your audience and drive results for your business.

Setting Up Your Email Campaign in HubSpot

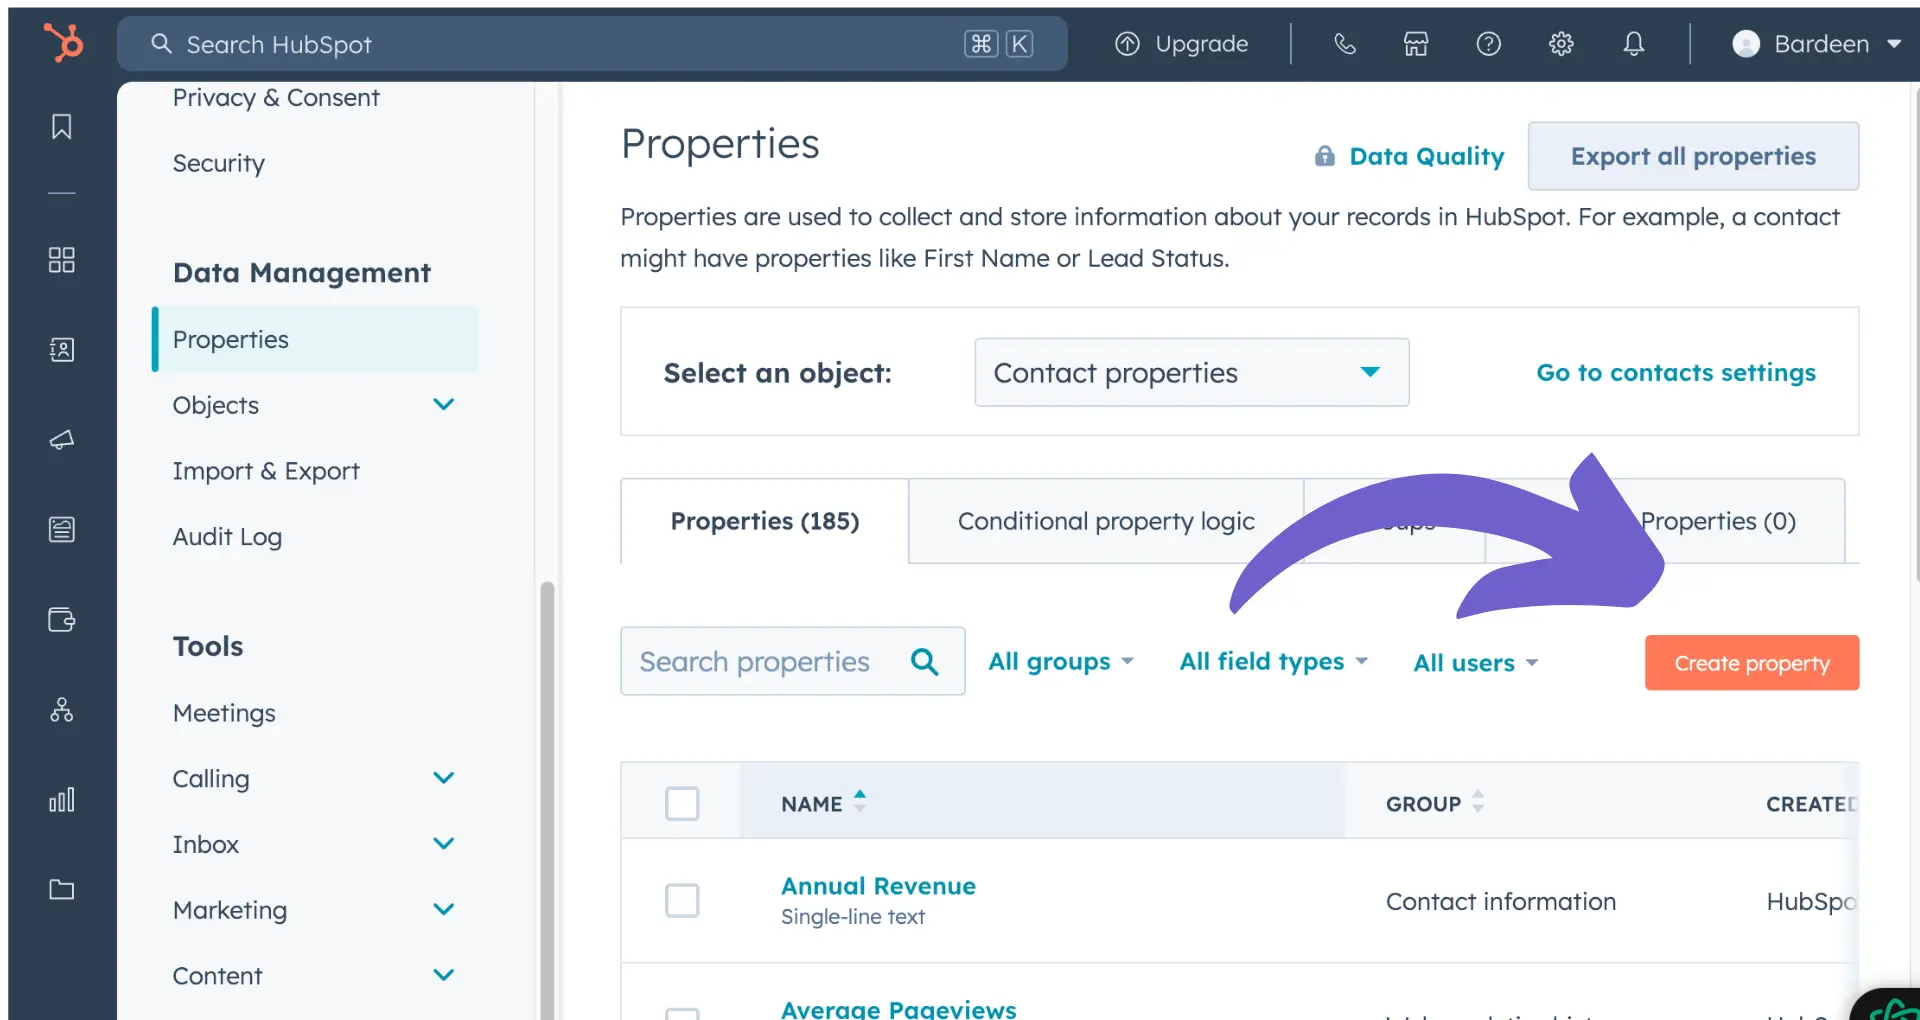
Creating a new email campaign in HubSpot is a straightforward process. To get started, navigate to the Marketing tab and select Email. Click on the "Create email" button and choose the appropriate email type for your campaign, such as Regular, Automated, or Blog/RSS.

When setting up your email, it's crucial to select the right template from the Custom tab to align with your campaign's goals. HubSpot offers a variety of pre-designed templates that you can customize to fit your needs, or you can create your own from scratch using the drag-and-drop editor.

Consider the following factors when choosing an email template:

  • Purpose of the email (promotional, informational, transactional)
  • Branding consistency
  • Mobile responsiveness
  • Ease of customization

Once you've selected a template, you can start building your email content using HubSpot's intuitive editor. Add text, images, buttons, and other elements to create an engaging email that effectively communicates your message to your target audience.

Customizing and Personalizing Emails

HubSpot's email editor offers a range of customization options to create engaging and personalized content. Use the rich text toolbar to format your text, add images, and insert links. You can also include emojis to add visual interest and convey tone in your emails.

Personalization is key to creating effective mass emails that resonate with your audience. HubSpot enables personalization through:

  • Dynamic content: Display different content based on a contact's properties, such as their industry or location.
  • Contact segmentation: Create targeted email lists based on contact properties, behaviors, or interactions with your brand.

To personalize your emails, use HubSpot's personalization tokens, which pull data from your contact properties. For example, you can address contacts by their first name or reference their company in the email content. This helps create a more tailored experience for each recipient, increasing engagement and conversions.

Remember to set default values for your personalization tokens to ensure a seamless experience for contacts who may have missing or incomplete data in their profiles. AI-powered tools can help streamline personalization and save time.

Implementing A/B Testing for Effective Emails

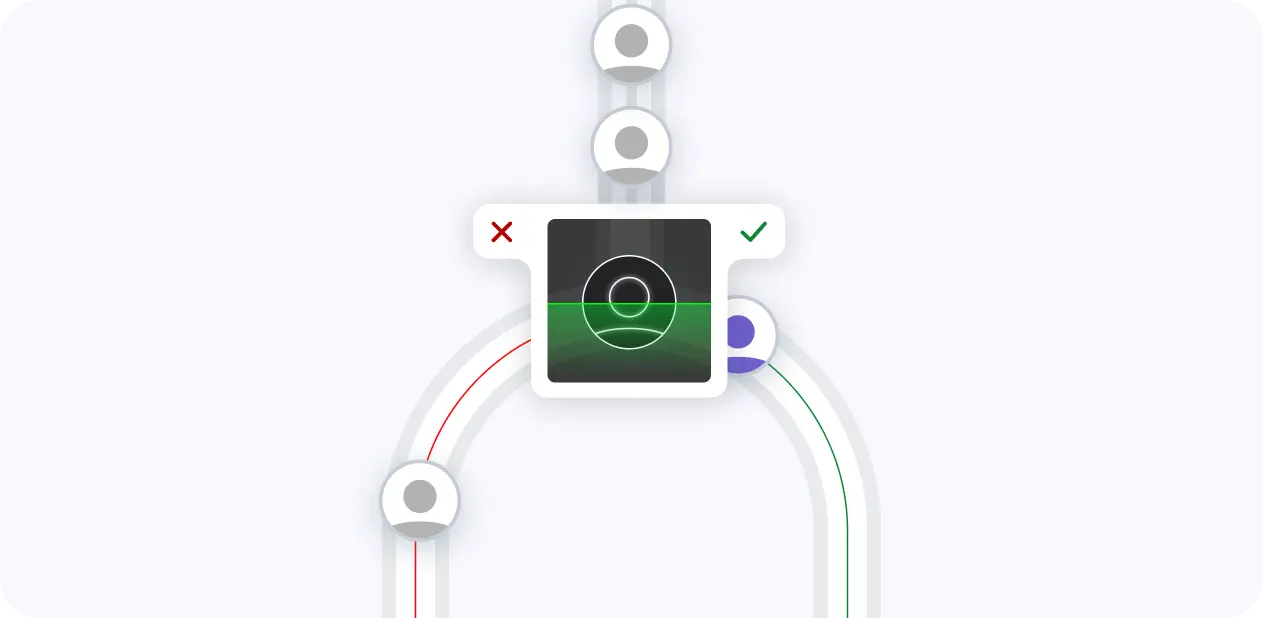
A/B testing is a powerful tool for optimizing your email campaigns in HubSpot. To set up an A/B test:

  1. Create a new email or edit an existing one.
  2. Click "Create A/B test" in the email editor.
  3. Configure your test settings, including the percentage of contacts who will receive each variation and the winning metric (open rate, click rate, or click-through rate).
  4. Customize the content for each variation, focusing on a single variable such as the subject line, sender name, or email content integrated with Gmail.

Once your test is set up, send your email to a sample of your audience. HubSpot will automatically track the performance of each variation based on your chosen metric. After the test duration, HubSpot will select the winning variation and send it to the remaining recipients.

A/B testing is crucial for improving email engagement and overall campaign performance. By continuously testing and refining your emails, you can identify what resonates best with your audience and optimize your strategy accordingly. Regularly incorporating A/B testing into your email marketing process will help you maximize the impact of your campaigns and drive better results over time.

Save time and automate tasks related to A/B testing by using Bardeen's email workflow automation. Focus on what matters most and let Bardeen handle the rest.

Previewing and Testing Emails Before Sending

Before sending your mass email, it's crucial to preview and test it on various devices and email clients to ensure compatibility and correctness. HubSpot offers built-in testing features to streamline your email workflow:

  1. In the email editor, click the "Actions" dropdown menu and select "Preview."
  2. Review how your email appears on both desktop and mobile screens.
  3. To preview the email in specific clients, click "Clients" at the top of the preview screen and select the desired email clients.
  4. Click "Test my email now" to generate previews for each selected client.

Sending test emails to yourself or team members is another critical step in the quality assurance process. To send a test email in HubSpot:

  1. Click "Send test email" in the upper right corner of the email editor.
  2. Choose recipients from the dropdown menu.
  3. Optionally, preview the email with specific personalization options using the "Receive email previewing" dropdown menus.
  4. Click "Send test email" to deliver the test message.

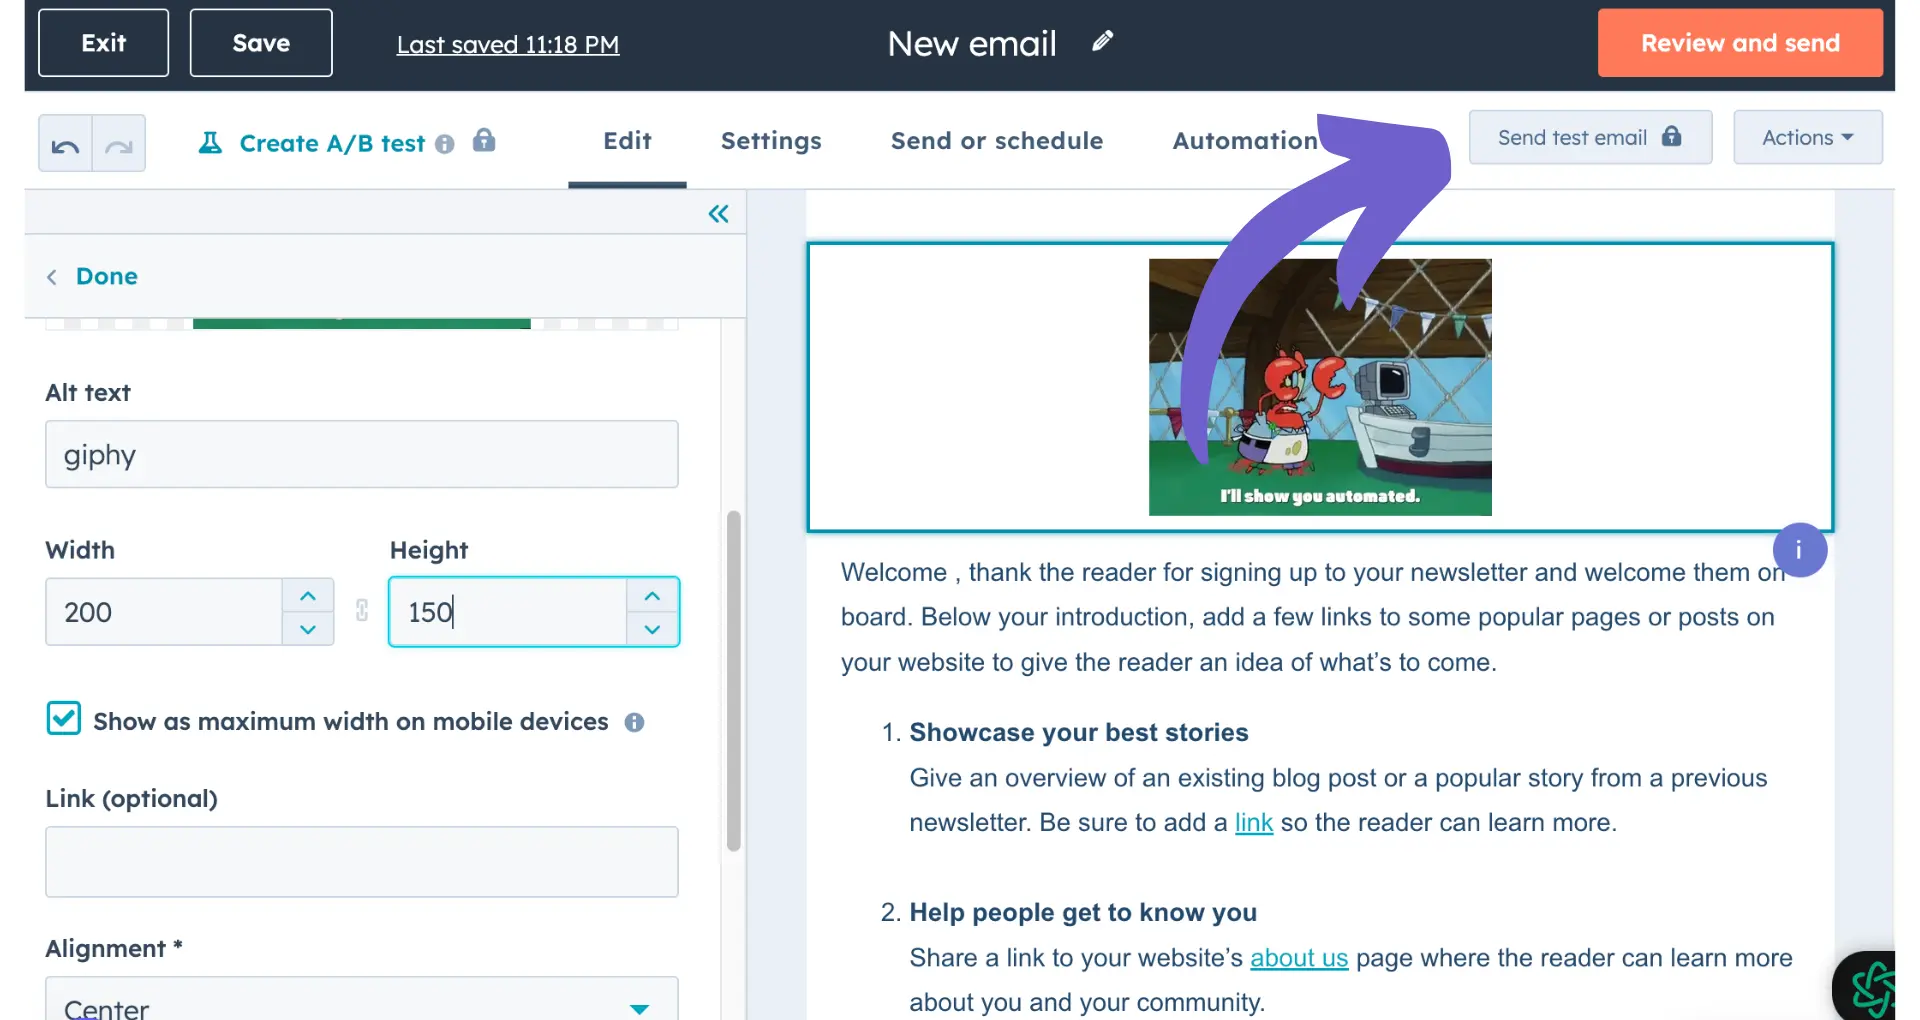
By thoroughly previewing and testing your emails, you can identify and resolve any rendering issues, ensure your content displays as intended, and provide the best possible experience for your recipients.

Scheduling and Sending Mass Emails

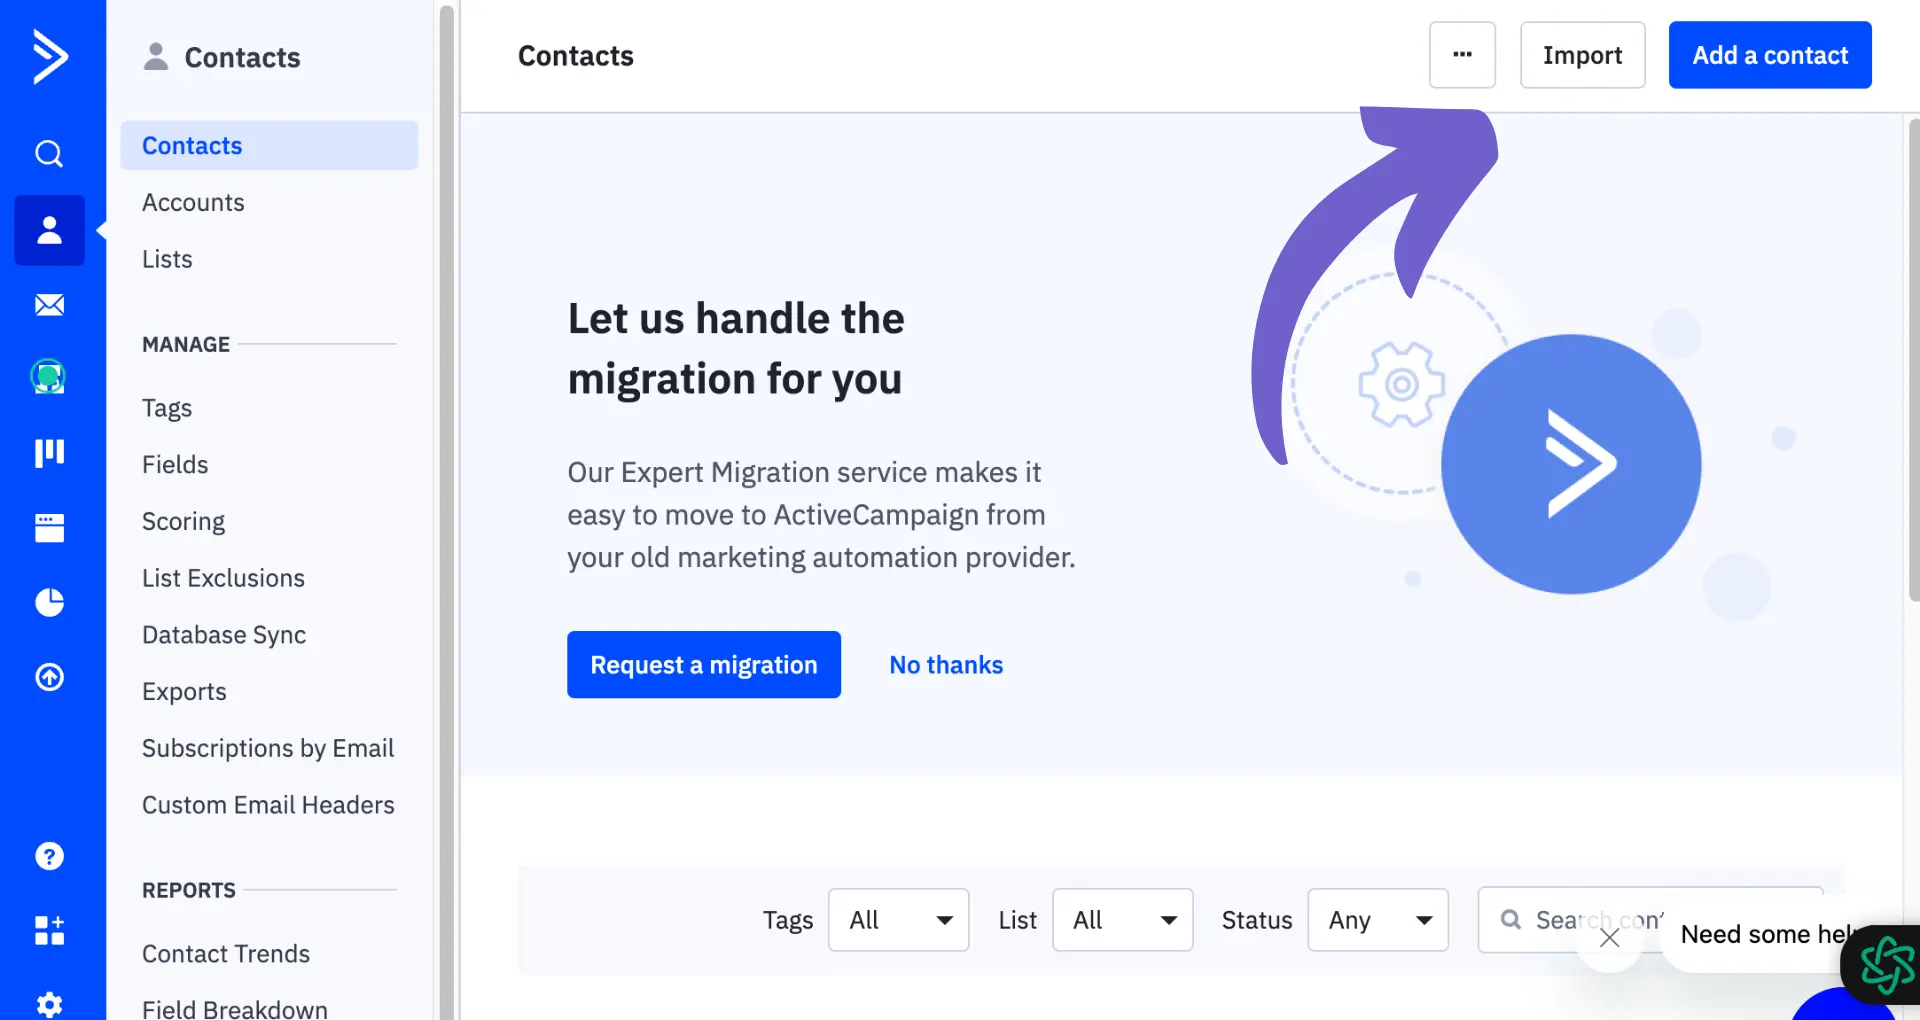
After crafting your email and ensuring it's error-free, it's time to finalize your recipient list and schedule your mass email. HubSpot offers flexible options to refine your audience and choose the optimal sending time:

  1. In the "Send or schedule" tab, locate the "Send to" dropdown menu to select your target list or segment.
  2. Use the "Don't send to" dropdown to exclude any lists or segments you don't want to receive the email.
  3. Choose to send the email immediately or schedule it for a specific date and time.
  4. If scheduling, select your preferred time zone and whether to send based on recipients' time zones for global audiences.

Sending emails immediately is ideal for time-sensitive announcements or when you want to reach your audience as soon as possible. Scheduling emails allows you to:

  • Deliver messages at optimal times for higher open and click-through rates.
  • Coordinate email sends with other marketing initiatives or events.
  • Ensure consistency in your email marketing cadence.

With your recipients and sending time set, click "Send now" or "Schedule" to queue up your mass email in HubSpot.

Save time and automate tasks related to email scheduling by using Bardeen's email workflow automation. Focus on what matters most and let Bardeen handle the rest.

Converting and Optimizing Email Formats

HubSpot offers the flexibility to convert a classic email into a drag-and-drop template, streamlining your email design process. Here's how to convert your email format:

  1. Navigate to your email in the HubSpot dashboard and click "Edit."
  2. In the top-right corner, click the "Actions" dropdown menu.
  3. Select "Convert to drag and drop" from the available options.
  4. HubSpot will automatically convert your classic email to the drag-and-drop format.

Keep in mind that converting to a drag-and-drop template may affect the behavior of certain modules. For example:

  • Locked modules can only be edited at the template level, not within individual emails.
  • Some custom modules may not be compatible with the drag-and-drop editor.
  • Formatting and layout may require adjustments after the conversion.

To optimize your email format, consider these best practices:

  • Ensure your design is responsive and mobile-friendly.
  • Use clear, concise text and engaging visuals to capture attention.
  • Organize content into easily digestible sections with headings and bullet points.
  • Include prominent calls-to-action to drive engagement and conversions.

By converting to a drag-and-drop template and following email design best practices, you can create visually appealing, effective emails that resonate with your audience.

Boost HubSpot Email Efficiency with Bardeen Automations

While HubSpot provides robust tools for mass email campaigns, automating certain aspects of your email management can save you considerable time and improve efficiency. Bardeen offers seamless integration with HubSpot, allowing you to automate various tasks that streamline your workflow and enhance your productivity.

  1. Summarize and save new emails to HubSpot using OpenAI: This playbook uses OpenAI to generate and save summaries of new emails to HubSpot as new tickets, including the sender and email link. It's particularly beneficial for sales and marketing professionals looking to optimize their email communication.
  2. Create a HubSpot ticket, when an email is forwarded: Seamlessly create HubSpot tickets from forwarded emails. This automation is invaluable for support teams aiming to expedite ticket creation and improve response times.
  3. Create draft email for a HubSpot contact using OpenAI: Leverage the power of OpenAI to create personalized draft emails for your HubSpot contacts, enhancing your sales prospecting and personal productivity.

Other answers for HubSpot

40+ Buying Signal Examples and Their Impact

Learn key buying signals with over 40 examples to identify customer interest and boost your sales effectiveness.

Read more
Ultimate Lead Scoring Guide: All Your Questions Answered

Explore our comprehensive guide on lead scoring to prioritize and convert leads effectively in sales processes for 2024.

Read more
How to Qualify Sales Leads?: Essential Steps & Tips

Learn key steps to qualify sales leads effectively, boost conversions, and refine your sales process for better ROI.

Read more
Cold vs Warm Leads: Conversion Strategies Explained 2024

Explore key differences between cold and warm leads and learn top conversion strategies to optimize your sales funnel in 2024.

Read more
Add HubSpot Certification to LinkedIn: A Step-by-Step Guide

Learn how to manually add your HubSpot certification to LinkedIn by updating the Licenses & Certifications section, showcasing your achievements.

Read more
Log LinkedIn Messages in HubSpot: A Step-by-Step Guide

Learn how to log LinkedIn messages in HubSpot using third-party tools like Hublead for improved CRM efficiency and sales processes.

Read more
how does bardeen work?

Your proactive teammate — doing the busywork to save you time

Integrate your apps and websites

Use data and events in one app to automate another. Bardeen supports an increasing library of powerful integrations.

Perform tasks & actions

Bardeen completes tasks in apps and websites you use for work, so you don't have to - filling forms, sending messages, or even crafting detailed reports.

Combine it all to create workflows

Workflows are a series of actions triggered by you or a change in a connected app. They automate repetitive tasks you normally perform manually - saving you time.

get bardeen

Don't just connect your apps, automate them.

200,000+ users and counting use Bardeen to eliminate repetitive tasks

Effortless setup
AI powered workflows
Free to use
Reading time
Thank you! Your submission has been received!
Oops! Something went wrong while submitting the form.
By clicking “Accept”, you agree to the storing of cookies. View our Privacy Policy for more information.