Maintaining a clean and organized lead database is crucial for effective sales management in Salesforce. In this step-by-step guide, we'll walk you through the process of deleting leads in Salesforce, covering essential considerations, individual and bulk deletion methods, handling converted leads, and best practices for automating lead management. By following these steps, you'll ensure data integrity, optimize your sales processes, and keep your Salesforce org running smoothly.
Pre-Deletion Considerations for Salesforce Leads
Before deleting a lead in Salesforce, it's crucial to review the lead's data to ensure that no critical information is lost. Take the time to examine the lead record, including any notes, attachments, or related records that may contain valuable insights.
Keep in mind that deleting a lead can have implications on your reporting and analytics. When a lead is deleted, it is permanently removed from your Salesforce org, which means it will no longer be included in any reports or dashboards. This can affect your sales forecasts and make it more difficult to track the effectiveness of your lead generation efforts. Consider using lead enrichment tools to capture important data before deletion.
- Review the lead record thoroughly before deletion
- Check for any related records or attachments
- Consider the impact on reporting and analytics
- Ensure that deleting the lead aligns with your organization's data retention policies
By carefully considering these factors before deleting a lead, you can maintain the integrity of your Salesforce data and make informed decisions about your lead management processes. For additional tips, check out our guide on prospect list building.
How to Delete a Single Lead in Salesforce
To delete an individual lead in Salesforce, follow these steps:
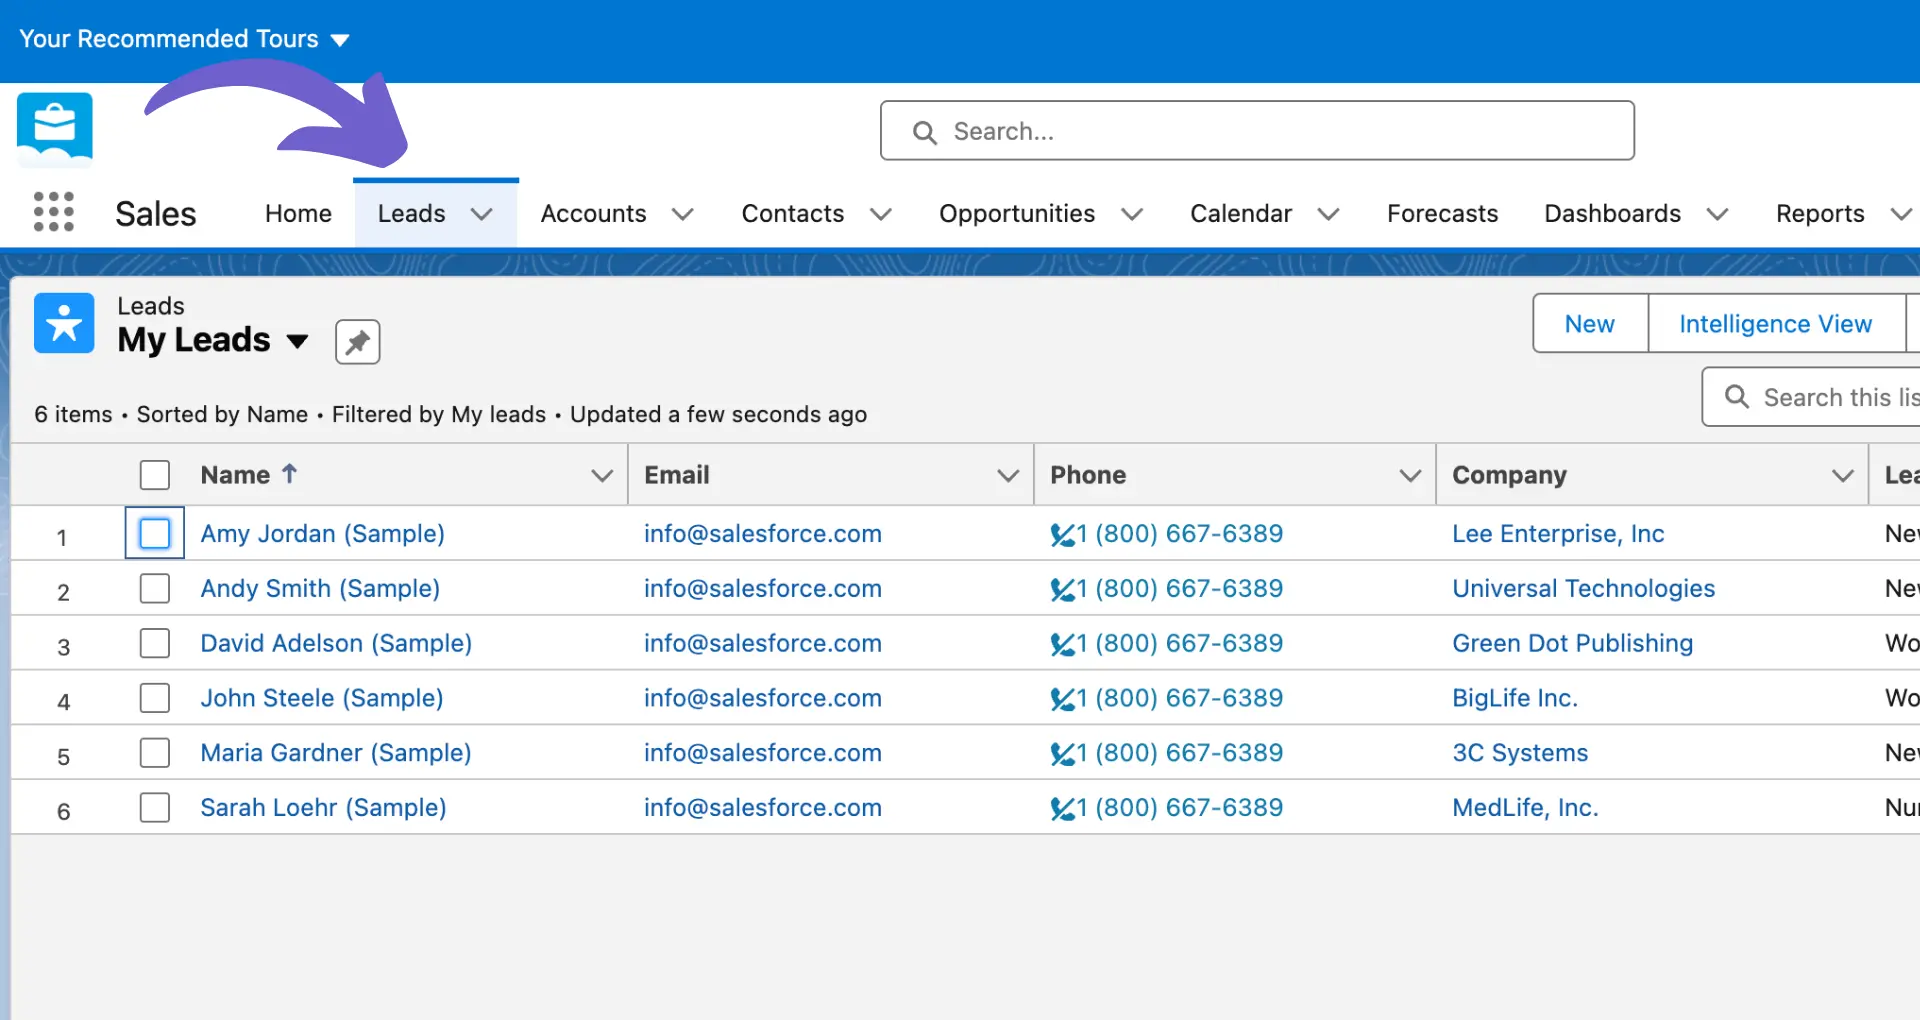
- Navigate to the Leads tab in Salesforce.
- Locate the lead you want to delete by using the search bar or filtering the list view.
- Click on the lead name to open the lead record.
- On the lead record page, click the "Delete" button located at the top of the page.
- Confirm the deletion by clicking "Delete" in the pop-up window.
It's important to note that only users with the appropriate permissions can delete leads in Salesforce. System administrators can modify user permissions by following these steps:
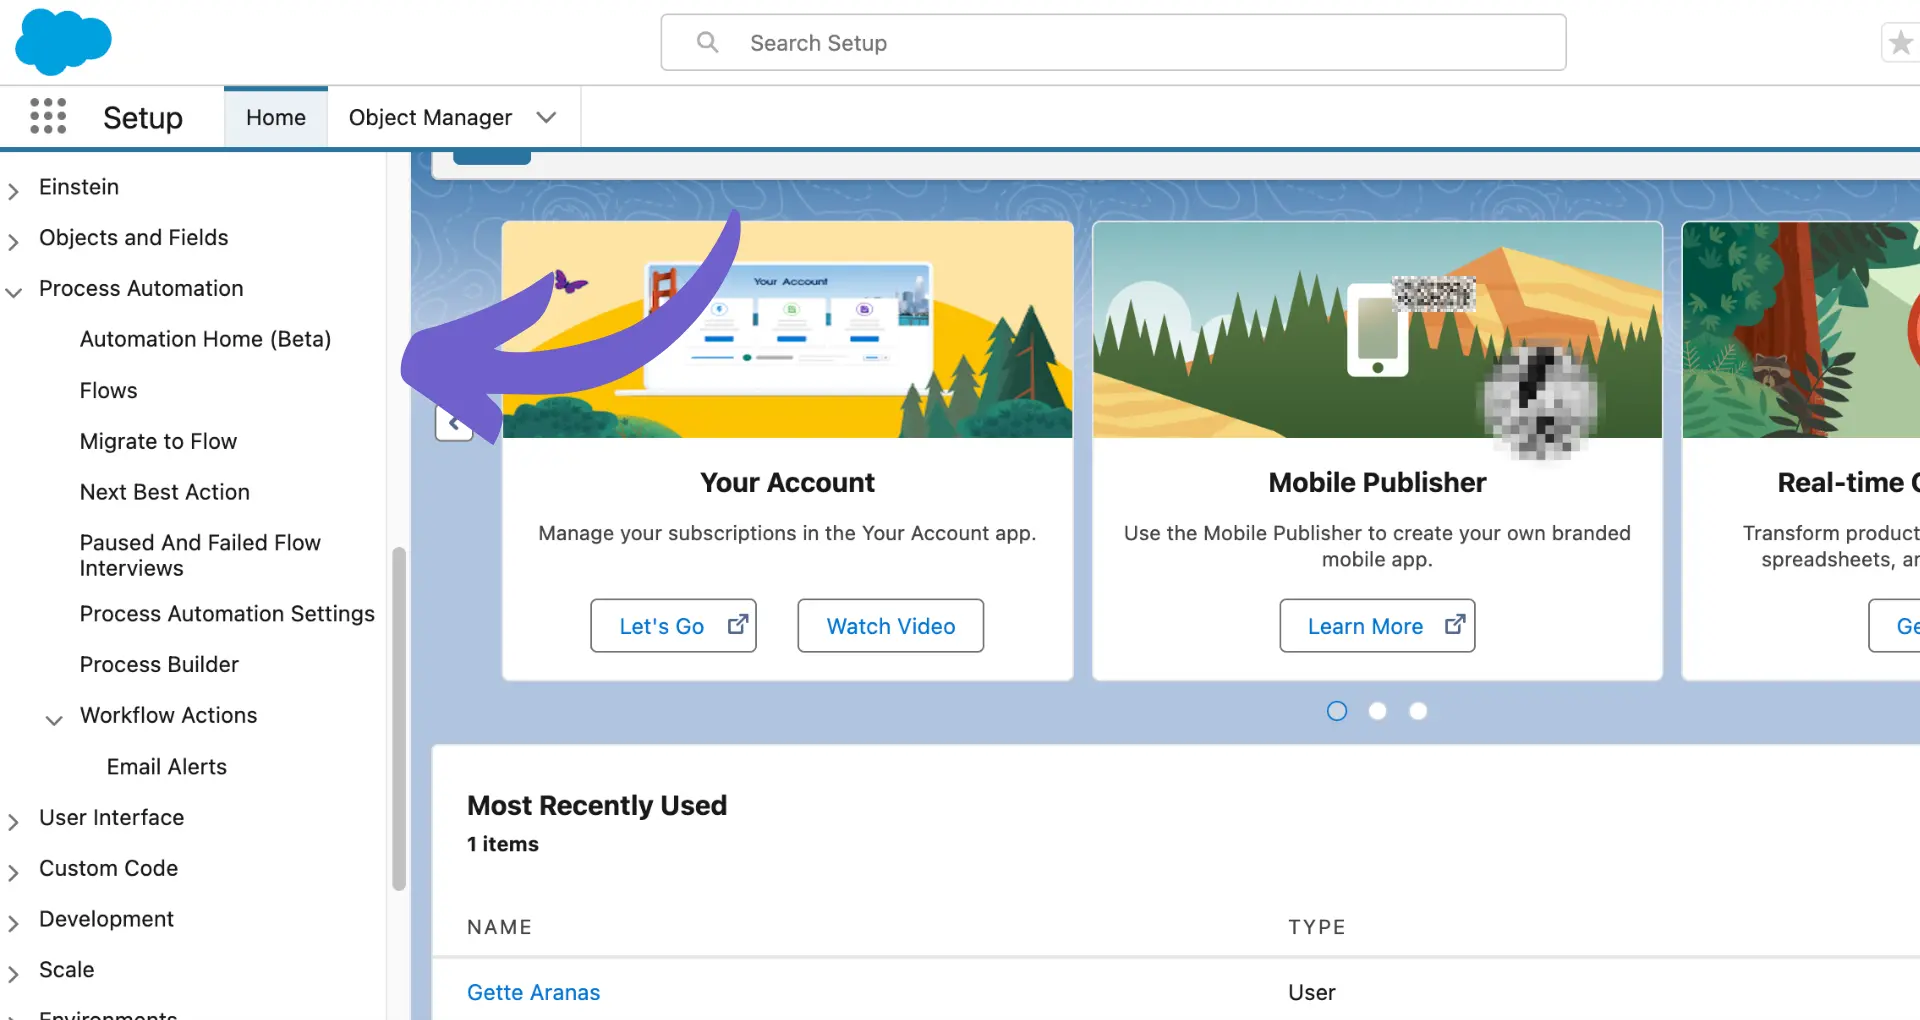
- Navigate to Setup > Users > Profiles.
- Select the profile you want to modify.
- In the profile settings, locate the "Leads" object and click "Edit".
- Under the "Delete" column, select the appropriate permission level (e.g., "All", "None", or "Owner").
- Click "Save" to apply the changes.
By ensuring that only authorized users have the ability to delete leads, you can maintain better control over your Salesforce data and prevent accidental deletions. For more tips on automating sales prospecting, check out our resources.
Save time with Bardeen by automating repetitive tasks in Salesforce. Learn how to automate sales prospecting now.
Bulk Deletion of Leads in Salesforce
Salesforce offers a bulk delete functionality that allows you to remove multiple leads simultaneously. To perform a bulk deletion of leads, follow these steps:
- Navigate to Setup > Data Management > Mass Delete Records.
- Select "Leads" from the object dropdown menu.
- Specify the criteria for the leads you want to delete using filters, such as "Lead Status" or "Created Date".
- Click "Search" to display the leads that match your criteria.
- Select the checkboxes next to the leads you want to delete, or click "Select All" to choose all displayed leads.
- Click "Delete" to permanently remove the selected leads from Salesforce.
When performing bulk deletions, it's crucial to follow best practices to prevent accidental data loss:
- Create a backup of your Salesforce data before initiating a bulk deletion to ensure you can restore any accidentally deleted leads.
- Double-check your selection criteria to confirm you are only deleting the intended leads.
- Consider archiving leads instead of permanently deleting them, as this allows you to retain historical data while removing it from active use.
- Communicate the bulk deletion process and criteria to relevant team members to ensure everyone is aware of the changes being made to the lead database.
By carefully planning and executing bulk lead deletions, you can maintain a clean and efficient Salesforce database without risking the loss of valuable data. For more tips on improving your sales processes, check out our sales prospecting automation guide.
Handling Converted Leads in Salesforce
Deleting leads that have been converted into accounts, contacts, or opportunities in Salesforce can be complex. When a lead is converted, Salesforce creates new records in the respective objects and links them to the original lead record. Deleting a converted lead can disrupt this data relationship and lead to inconsistencies.
To maintain data integrity, follow these guidelines when handling converted leads:
- Avoid deleting converted leads unless absolutely necessary. Instead, consider marking them as "Converted" or "Inactive" to preserve the historical data.
- If you must delete a converted lead, first ensure that the associated account, contact, and opportunity records are no longer needed or have been properly backed up.
- Use Salesforce's data tools, such as the Data Loader or the Data Import Wizard, to clean up any remaining data inconsistencies after deleting a converted lead.
- Regularly review and merge duplicate records that may have been created during the lead conversion process to maintain data quality.
Using tools like Bardeen can automate many of these tasks. Check out our sales prospecting tools guide to learn more about automating data cleanup.
When cleaning up data after a lead conversion, consider the following steps:
- Identify any duplicate account, contact, or opportunity records created during the conversion process.
- Merge or delete duplicate records, ensuring that all relevant data is consolidated into a single, accurate record.
- Update any references to the deleted lead record in related objects, such as activities or notes, to point to the appropriate account, contact, or opportunity record.
- Verify that all data relationships are maintained and that no orphaned records exist as a result of the lead deletion.
By carefully handling converted leads and regularly cleaning up data, you can ensure that your Salesforce org maintains high data quality and integrity.
Best Practices and Automation for Lead Management in Salesforce
To optimize your lead management process in Salesforce and maintain a clean database, consider implementing the following best practices and automation techniques:
- Use Salesforce's workflow rules to automate lead assignment, notifications, and field updates based on specific criteria, such as lead source or industry.
- Implement Apex triggers to automatically delete leads that meet certain conditions, such as leads that have been inactive for a specified period or those marked as "junk" or "spam".
- Regularly review and clean your lead data to identify and merge duplicate records, ensuring data accuracy and consistency.
- Establish a lead scoring system to prioritize leads based on their likelihood to convert, enabling your sales team to focus on the most promising opportunities.
- Use Salesforce's lead nurturing tools, such as email templates and drip campaigns, to keep leads engaged and move them through the sales funnel.
When automating lead deletion processes, consider the following:
- Define clear criteria for identifying leads that should be deleted, such as leads that have been unresponsive for a specific timeframe or those that consistently bounce emails.
- Test your automation rules and triggers in a sandbox environment before deploying them to your production org to avoid unintended data loss.
- Regularly review and update your automation rules to ensure they align with your evolving business needs and lead management strategies.
By implementing these best practices and automation techniques, you can streamline your lead management process, reduce manual effort, and maintain a clean and accurate database in Salesforce. Explore more on lead management automation.


