Web scraping, the process of extracting data from websites, is a powerful technique that enables you to gather information efficiently. JavaScript, being a versatile programming language, provides various tools and libraries to make web scraping tasks easier, both on the client-side and server-side. In this step-by-step tutorial, we'll guide you through the process of web scraping using JavaScript, covering essential concepts, tools, and practical examples to help you master the art of extracting data from the web in 2024.
Web scraping is the process of automatically extracting data from websites. It's a powerful technique that enables you to gather information from the vast amount of data available on the internet. JavaScript, being a versatile programming language, provides various tools and libraries to make web scraping tasks easier and more efficient.
Here are some key points about web scraping with JavaScript:
Whether you need to collect data for analysis, monitor prices, or automate tasks, web scraping with JavaScript offers a flexible and efficient solution. In the following sections, we'll explore the techniques and tools you can use to scrape websites using JavaScript effectively.
To begin web scraping with JavaScript, you'll need to set up a Node.js environment. Node.js allows you to run JavaScript code outside of a web browser, making it ideal for server-side scripting and web scraping tasks. Here's how to get started:
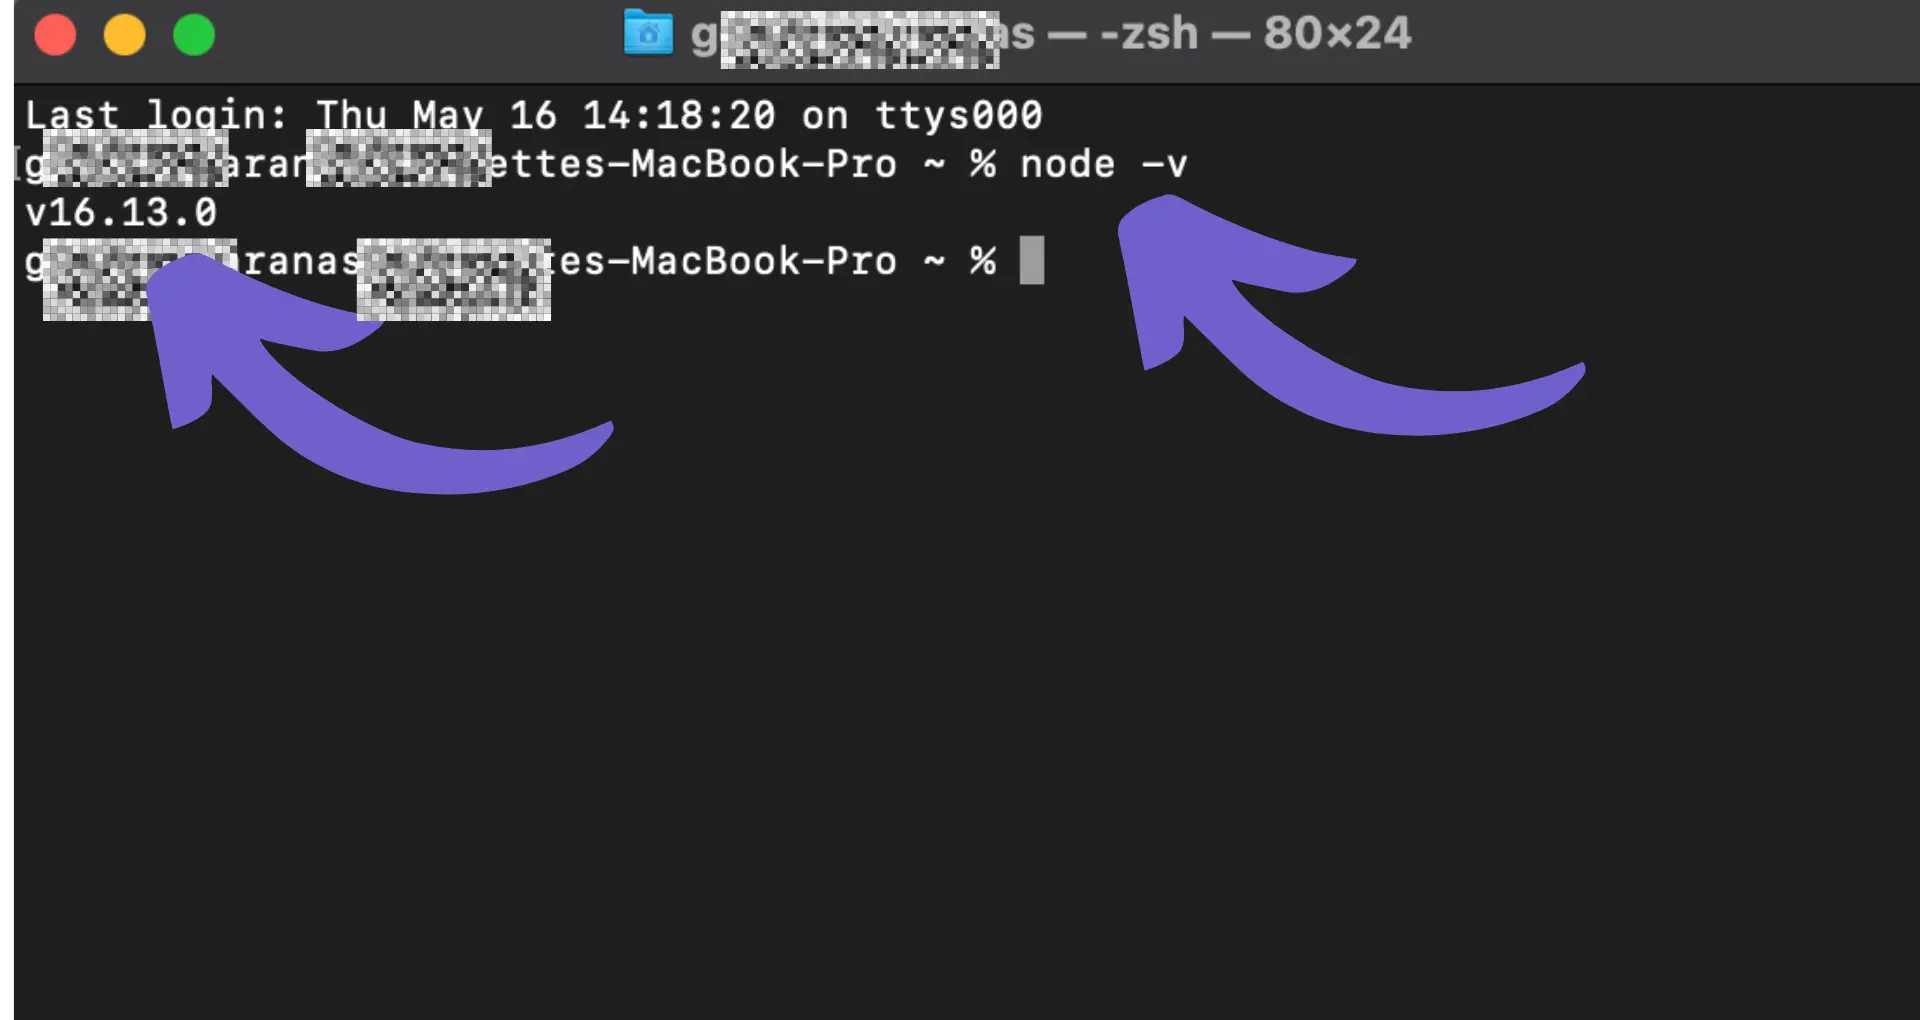
node -vIf Node.js is installed, it will display the version number.npm init -yThis command will create a package.json file with default settings.npm install axios cheerioWith these steps completed, you now have a Node.js environment set up and ready for web scraping. You can create a new JavaScript file (e.g., scraper.js) and start writing your web scraping code using the installed dependencies.
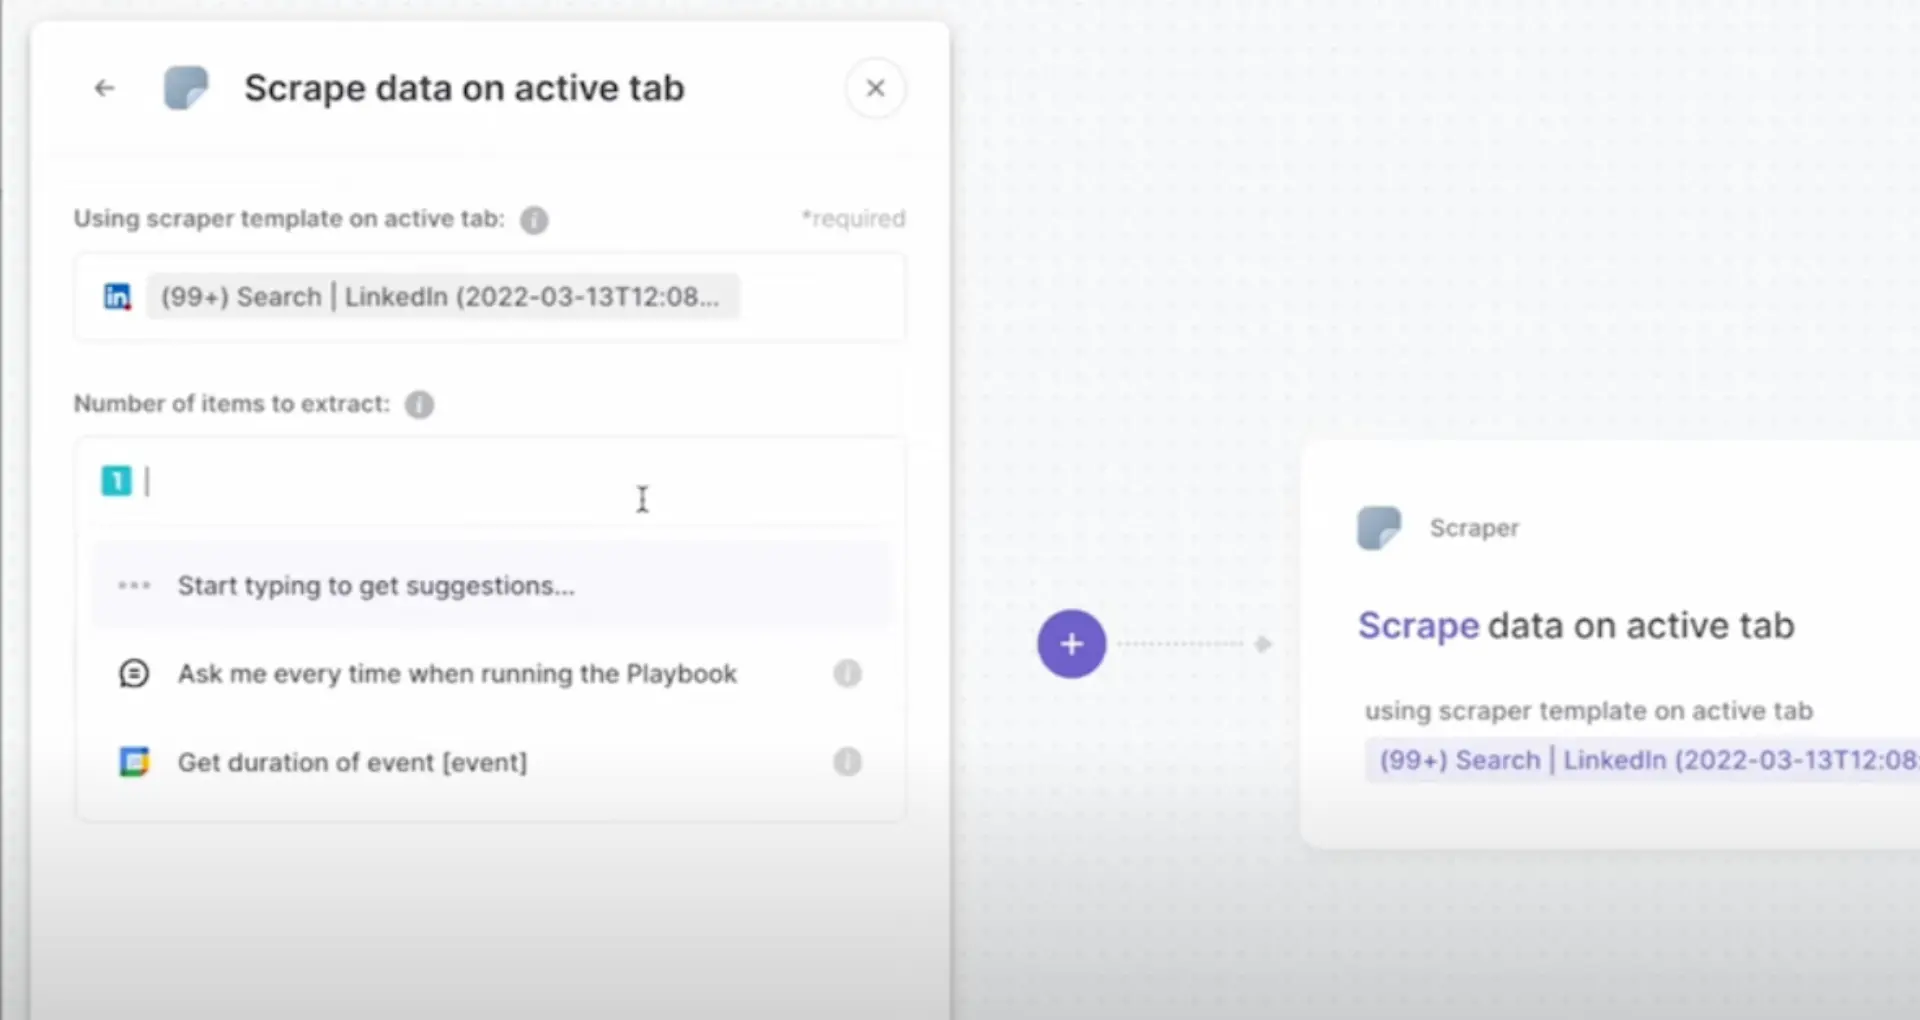
Bardeen can save you time by automating repetitive tasks. Try using this scraping integration to focus on the important work.
Web scraping relies heavily on making HTTP requests to servers and handling the responses that are sent back. Let's dive into the fundamentals of HTTP requests and responses.
An HTTP request is made by a client, typically a web browser, to a server to request a specific resource or perform an action. The request includes the URL of the resource, the HTTP method (GET, POST, etc.), and optional headers and data.
The server processes the request and sends back an HTTP response. The response includes a status code indicating the result of the request (e.g., 200 for success, 404 for not found), headers containing metadata about the response, and the requested data in the response body.
When web scraping with JavaScript, you can use different methods to make HTTP requests:
Here's a simple example using the Fetch API to make a GET request:
fetch('https://api.example.com/data') .then(response => response.json()) .then(data => console.log(data)) .catch(error => console.error(error));
In this example, the fetch() function is used to send a GET request to the specified URL. The response is then parsed as JSON using response.json(), and the resulting data is logged to the console. Any errors that occur during the request are caught and logged as well.
Understanding how to make HTTP requests and handle responses is crucial for effective web scraping. By leveraging the Fetch API or libraries like Axios, you can easily retrieve data from web pages and APIs, enabling you to extract and process the information you need.
Puppeteer is a powerful Node.js library that allows you to automate and control a headless Chrome or Chromium browser. It provides an API to navigate web pages, interact with elements, and extract data from websites, making it an excellent tool for dynamic web scraping.

Here's a basic example of using Puppeteer to navigate to a page, render JavaScript, and scrape the resulting data:
const puppeteer = require('puppeteer');(async () => {const browser = await puppeteer.launch();const page = await browser.newPage();await page.goto('https://example.com');await page.waitForSelector('#content');const data = await page.evaluate(() => {return document.querySelector('#content').innerText;});console.log(data);await browser.close();})();
In this example:
puppeteer.launch().browser.newPage().page.goto().page.waitForSelector().page.evaluate() to execute JavaScript code within the page context and extract the desired data.browser.close().Puppeteer provides many other useful methods for interacting with web pages, such as:
page.click() to simulate clicking on elements.page.type() to simulate typing into form fields.page.screenshot() to capture screenshots of the page.page.pdf() to generate PDF files from the page.By leveraging Puppeteer's capabilities, you can handle dynamic content, perform actions on the page, and extract data that may not be easily accessible through static HTML parsing.
Bardeen can save you time by automating repetitive tasks. Try using this scraping integration to focus on the important work.
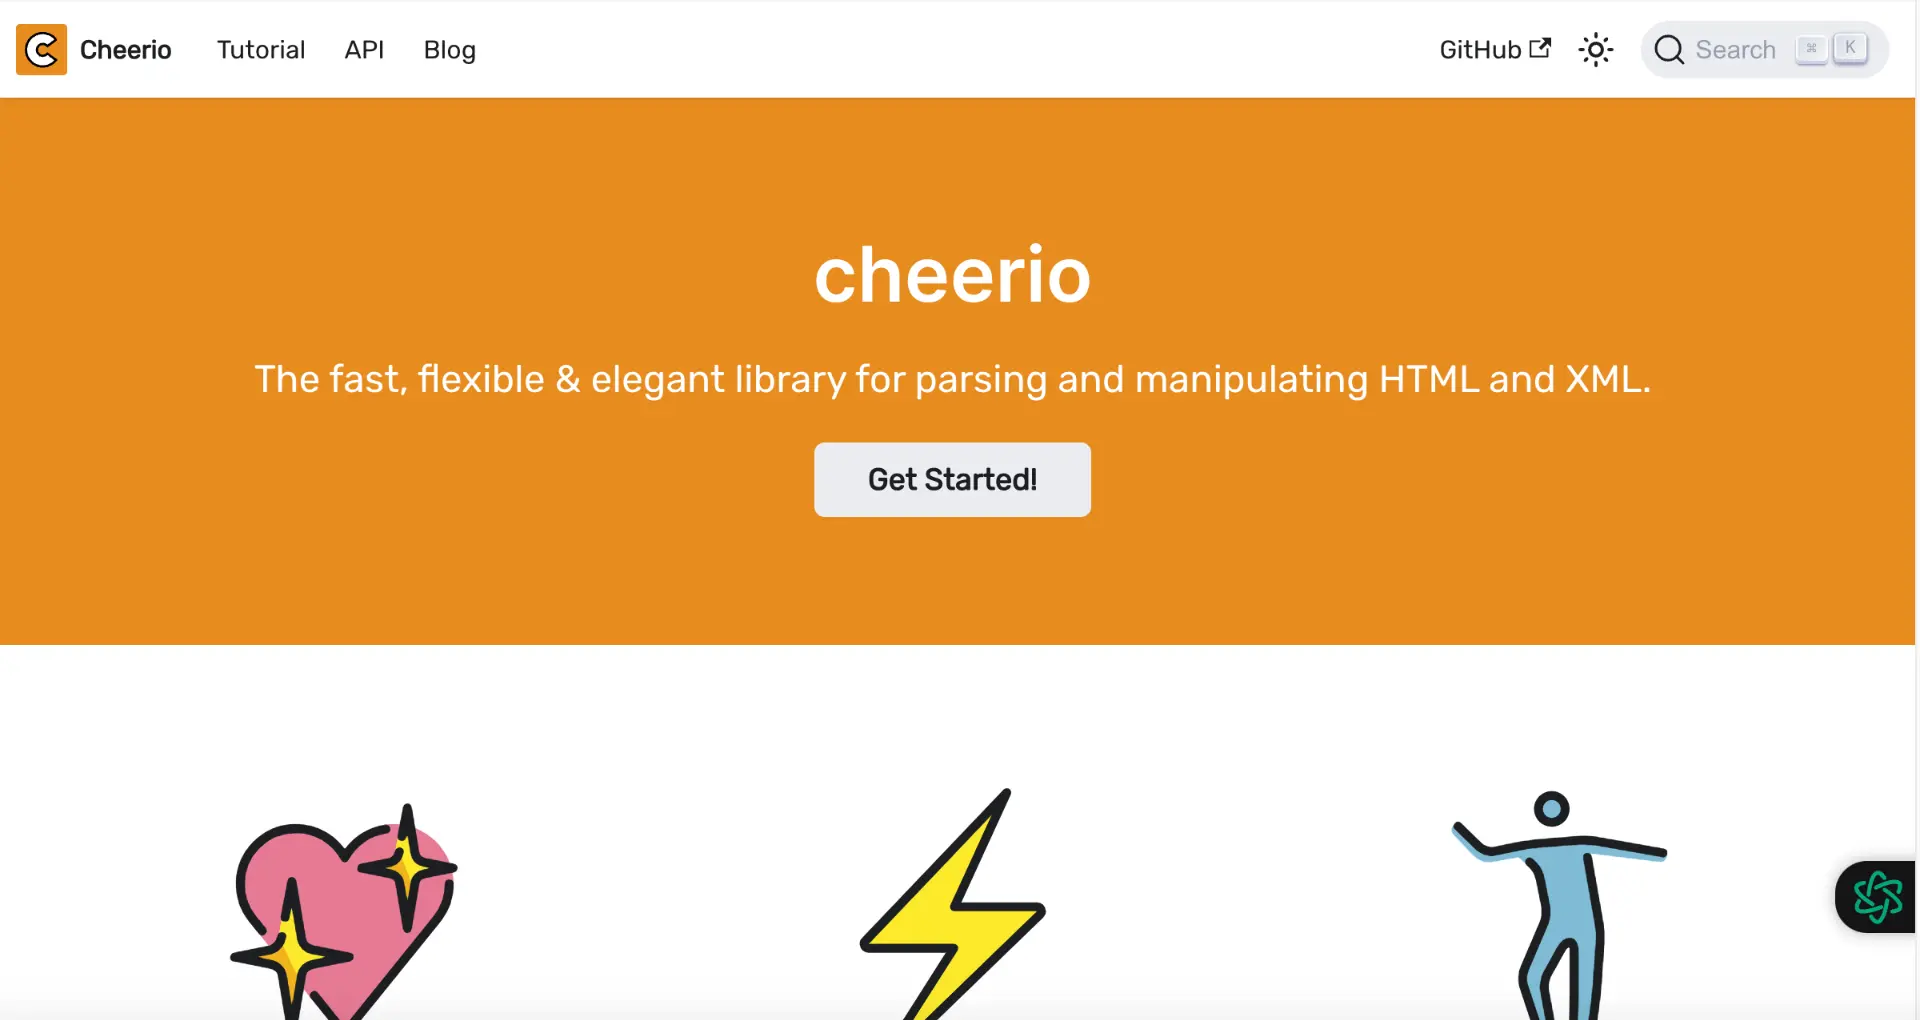
Cheerio is a powerful library that allows you to parse HTML documents on the server-side using a syntax similar to jQuery. It provides an easy way to extract specific elements and data from static web pages.
Here's a step-by-step example of scraping a static site using Cheerio:
npm install cheerioconst cheerio = require('cheerio');const $ = cheerio.load(html);const title = $('h1').text();const paragraphs = $('p').map((i, el) => $(el).text()).get();console.log(title);console.log(paragraphs);In this example, we use Cheerio to load the HTML document and then use selectors to extract the text content of the \u003ch1\u003e element and all \u003cp\u003e elements. The map() function is used to iterate over the selected \u003cp\u003e elements and extract their text content.
Cheerio provides a wide range of selectors and methods to navigate and manipulate the parsed HTML document, making it easy to extract specific data from static web pages.
When scraping websites with pagination, you need to handle navigating through multiple pages to extract all the desired data. Here are some techniques to handle pagination in JavaScript:
/page/1, /page/2).Here's an example of a recursive function to scrape paginated data:
async function scrapePaginated(url, page = 1) {
  const response = await fetch(`${url}?page=${page}`);
  const html = await response.text();
  const $ = cheerio.load(html);

  // Extract data from the current page
  const data = extractData($);

  // Check if there is a next page
  const nextPageLink = $('a.next-page').attr('href');
  if (nextPageLink) {
    // Recursively call the function with the next page URL
    const nextPageData = await scrapePaginated(url, page + 1);
    return [...data, ...nextPageData];
  }

  return data;
}
In this example, the scrapePaginated function takes the base URL and the current page number as parameters. It fetches the HTML content of the current page, extracts the data using Cheerio, and checks if there is a next page link. If a next page exists, it recursively calls itself with the next page URL. Finally, it combines the data from all pages and returns the result.
By implementing pagination handling, you can ensure that your web scraper retrieves data from all relevant pages, enabling comprehensive data extraction from websites with multiple pages.
You can save time by using Bardeen to automate scraping tasks. Try this web scraper to simplify your workflow.
After scraping data from websites, you need to store and manage it effectively for further analysis or usage. Here are some options for storing and managing scraped data in JavaScript:
fs module in Node.js.const fs = require('fs');
const scrapedData = [/* your scraped data */];
fs.writeFile('data.json', JSON.stringify(scrapedData), (err) => {
if (err) throw err;
console.log('Data saved to data.json');
});
const mongoose = require('mongoose');
mongoose.connect('mongodb://localhost/scraperdb', { useNewUrlParser: true });
const dataSchema = new mongoose.Schema({
  // define your data schema
});
const DataModel = mongoose.model('Data', dataSchema);
const scrapedData = [/* your scraped data */];
DataModel.insertMany(scrapedData)
  .then(() => console.log('Data saved to MongoDB'))
  .catch((err) => console.error('Error saving data:', err));
csv-writer to create and write data to CSV files.const createCsvWriter = require('csv-writer').createObjectCsvWriter;
const csvWriter = createCsvWriter({
path: 'data.csv',
header: [
{ id: 'name', title: 'Name' },
{ id: 'age', title: 'Age' },
// ...
]
});
const scrapedData = [/* your scraped data */];
csvWriter.writeRecords(scrapedData)
.then(() => console.log('Data saved to data.csv'))
.catch((err) => console.error('Error saving data:', err));
When choosing a storage method, consider factors such as the size of your scraped data, the need for querying and analysis, and the ease of integration with your existing infrastructure.
Additionally, ensure that you handle data responsibly and securely, especially if you're dealing with sensitive or personal information. Implement appropriate access controls, encryption, and data protection measures to safeguard the scraped data.
By storing and managing scraped data effectively, you can leverage it for various purposes, such as data analysis, machine learning, or building applications that utilize the extracted information.
When engaging in web scraping, it's crucial to be aware of the legal and ethical considerations to ensure responsible data collection practices. Here are some key points to keep in mind:
To ensure ethical web scraping, consider the following best practices:
By adhering to these legal and ethical guidelines, you can engage in web scraping responsibly, maintain a positive relationship with website owners, and avoid potential legal issues. Remember, the key is to strike a balance between collecting valuable data and respecting the rights and interests of website owners and users.
You can save time by using Bardeen to automate scraping tasks. Try this web scraper to simplify your workflow.


SOC 2 Type II, GDPR and CASA Tier 2 and 3 certified — so you can automate with confidence at any scale.


