Importing leads into Salesforce Lightning is a crucial task for businesses looking to streamline their sales processes and effectively manage their leads. In this step-by-step guide, we'll walk you through the process of preparing your data, using the Data Import Wizard, and addressing common challenges to ensure a smooth and successful lead import. By following these best practices and leveraging the right tools, you can efficiently import your leads and start nurturing them towards conversion.
Preparing Your Data for Import
Before importing leads into Salesforce Lightning, it's crucial to ensure your data is clean, organized, and properly formatted. This step is essential for a smooth and accurate import process. Here are the key steps to prepare your CSV or Excel files for import:
- Review your data and remove any duplicates, incomplete records, or irrelevant information.
- Ensure your data is consistent and follows a standardized format, such as date formats, phone numbers, and addresses.
- Map your data fields to the corresponding Salesforce fields. This includes standard fields like First Name, Last Name, Email, and custom fields specific to your organization.
- Validate your data to ensure it meets Salesforce's field requirements, such as maximum character limits, data types, and required fields.
- Save your cleaned and formatted data as a CSV file, ready for import.
By taking the time to properly prepare your data, you'll minimize potential issues during the import process and ensure your leads are accurately represented in Salesforce Lightning. This sets the foundation for effective lead management and nurturing your leads.
Using the Data Import Wizard in Salesforce Lightning
The Data Import Wizard in Salesforce Lightning is a powerful tool that simplifies the process of importing leads into your CRM. It offers a user-friendly interface and step-by-step guidance to build your prospect list. Here's how to use the Data Import Wizard:
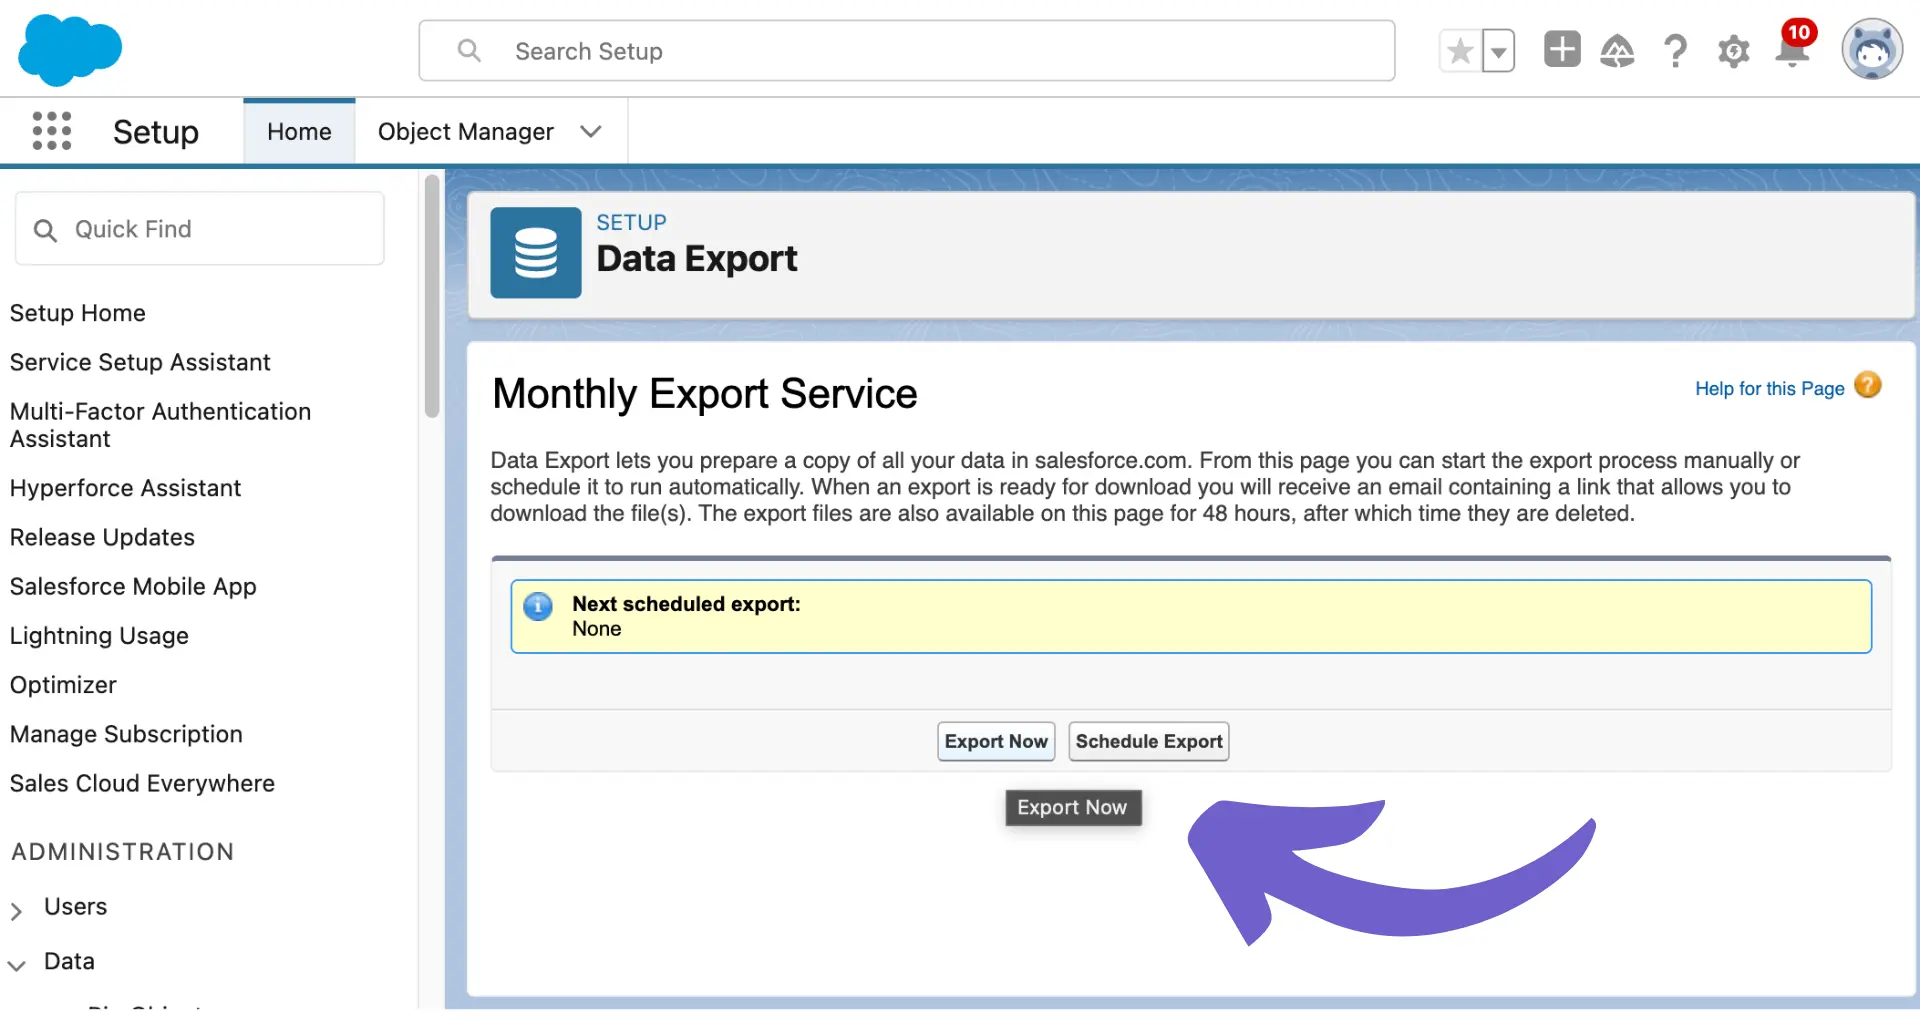
- Navigate to the Data Import Wizard in Salesforce Lightning by clicking on the gear icon, selecting "Setup," and then searching for "Data Import Wizard" in the Quick Find box.
- Select the type of data you want to import, in this case, "Leads."
- Choose your CSV file and click "Next."
- Map your CSV fields to the corresponding Salesforce Lead fields. The Data Import Wizard will attempt to match fields automatically based on their names, but you can manually adjust the mapping if needed.
- Select any matching criteria to prevent duplicates, such as email address or name.
- Review your import settings and click "Start Import."
- Monitor the import progress and receive email notifications upon completion.
The Data Import Wizard also provides error handling capabilities. If any records fail to import due to data inconsistencies or validation issues, you can download an error log to identify and rectify the problems before re-importing those records.
By leveraging the Data Import Wizard, you can efficiently import leads into Salesforce Lightning, saving time and effort while ensuring data accuracy and consistency. For even more efficiency, consider using automation tools for sales prospecting.
Save time with Bardeen’s AI agent. You can now connect Microsoft Excel directly to your CRM, speeding up your workflow and reducing manual data entry.
Addressing Common Import Challenges
While the Data Import Wizard in Salesforce Lightning is designed to simplify the import process, users may still encounter some common challenges. Here are a few typical issues and their solutions:
- Duplicate Records: Salesforce provides data enrichment tools to prevent the creation of duplicate records during the import process. By setting up matching rules and selecting the appropriate matching criteria in the Data Import Wizard, you can ensure that existing records are updated instead of creating duplicates.
- Incorrect Data Mapping: Incorrect field mapping can lead to data being imported into the wrong fields or not being imported at all. Double-check your field mappings in the Data Import Wizard and verify that each source field is mapped to the correct Salesforce field. Pay special attention to custom fields and ensure they are mapped accurately.
- Data Overflow: If the data in your import file exceeds the maximum field length in Salesforce, you may encounter data overflow issues. To avoid this, ensure that your import file adheres to Salesforce's field length limits. If necessary, consider truncating or splitting the data before importing.
- Validation Errors: Salesforce has various validation rules and requirements for different fields. If your import data doesn't meet these requirements, you may face validation errors. Review the error log provided by the Data Import Wizard to identify the specific records and fields causing the issues. Modify the data in your import file to comply with Salesforce's validation rules before attempting the import again.
To handle large imports and minimize the risk of hitting limits, consider using the batch import feature. This allows you to split your import into smaller batches, reducing the likelihood of timeouts or other issues.
By being aware of these common import challenges and leveraging Salesforce's built-in tools and features, you can troubleshoot and overcome obstacles, ensuring a smooth and successful data import process. For more tips on automating repetitive tasks, check out sales prospecting automation.
Integrating Third-Party Tools for Enhanced Data Import
Integrating third-party tools with Salesforce Lightning can significantly streamline the data import process, saving time and reducing manual effort. These tools offer additional functionality and automation, making data import more efficient and accurate. Some key benefits of integrating third-party tools include:
- Automated data synchronization between external systems and Salesforce
- Advanced data mapping and transformation capabilities
- Bulk data import and export functionality
- Data cleansing and deduplication features
- Scheduled data imports for ongoing data maintenance
When selecting a third-party tool for Salesforce data import, consider factors such as compatibility, ease of use, scalability, and security. Look for tools that offer native Salesforce integration and have a proven track record of successful implementations.
Some popular third-party tools for Salesforce data import include:
- Dataloader.io: A cloud-based data loader that enables bulk data import and export, with support for scheduling and real-time data synchronization.
- Jitterbit: A data integration platform that offers pre-built connectors for various systems, allowing for seamless data import into Salesforce.
- Talend: An enterprise data integration solution that provides advanced data mapping, transformation, and cleansing capabilities for Salesforce imports.
When integrating a third-party tool, follow best practices such as testing the integration in a sandbox environment, validating data quality, and ensuring proper data mapping. Collaborate with your IT team and the third-party vendor to ensure a smooth integration process and ongoing support.
By leveraging the power of third-party tools, you can enhance your Salesforce data import process, reducing manual effort, improving data accuracy, and ultimately driving better business insights and decision-making. For more tools that can help streamline your workflow, explore sales prospecting tools that integrate with Salesforce.
Save time with web scraper extensions like Bardeen. Automate data extraction and integration to boost your productivity.
Post-Import Practices: Verifying and Managing Imported Leads
After importing leads into Salesforce Lightning, it's crucial to verify the accuracy of the imported data and implement effective lead management strategies. Here are some key steps to ensure data integrity and optimize lead nurturing:
- Conduct a thorough quality check of the imported data:
- Spot-check a sample of records to ensure data accuracy and completeness
- Validate that data has been mapped correctly to the appropriate Salesforce fields
- Check for any missing or incorrect data and make necessary corrections
- Deduplicate imported leads:
- Utilize Salesforce's duplicate management tools to identify and merge duplicate records
- Establish clear deduplication rules based on key fields like email or company name
- Regularly monitor and address any new duplicates that may arise
- Segment and prioritize imported leads:
- Create lead segments based on criteria such as lead type, industry, company size, or lead source
- Prioritize leads based on their likelihood to convert and engage with your brand
- Assign leads to the appropriate sales teams or representatives for targeted outreach
- Integrate imported leads into lead nurturing workflows:
- Enroll imported leads into relevant email nurturing campaigns based on their segment and interests
- Personalize content and messaging to resonate with each lead's specific needs and pain points
- Monitor lead engagement and adjust nurturing strategies accordingly
- Continuously update and enrich lead data:
- Encourage sales teams to regularly update lead records with new information gathered from interactions
- Utilize third-party data enrichment tools to append additional firmographic and demographic data to lead records
- Maintain data hygiene by regularly cleaning and updating lead data to ensure accuracy
By implementing these post-import practices, you can ensure the quality and effectiveness of your imported leads, setting the stage for successful lead nurturing and conversion efforts within Salesforce Lightning.


