


Have you found yourself copying and pasting the same email multiple times? Fortunately, HubSpot allows you to save repetitive email content—like meeting reminders—in an email template for your CRM and inbox.
Using email templates can optimize communication and ensure consistent branding in all your emails. In this article, we’ll show you how to create an email template in HubSpot to supercharge your email marketing efforts.
Bardeen helps you with such tasks fast and easy with automations like this:
How to create and use email templates in HubSpot
Let’s go through the steps to create an email template in HubSpot.
Step 1: Click Conversations in the top-left corner of the screen and Templates in the dropdown menu.

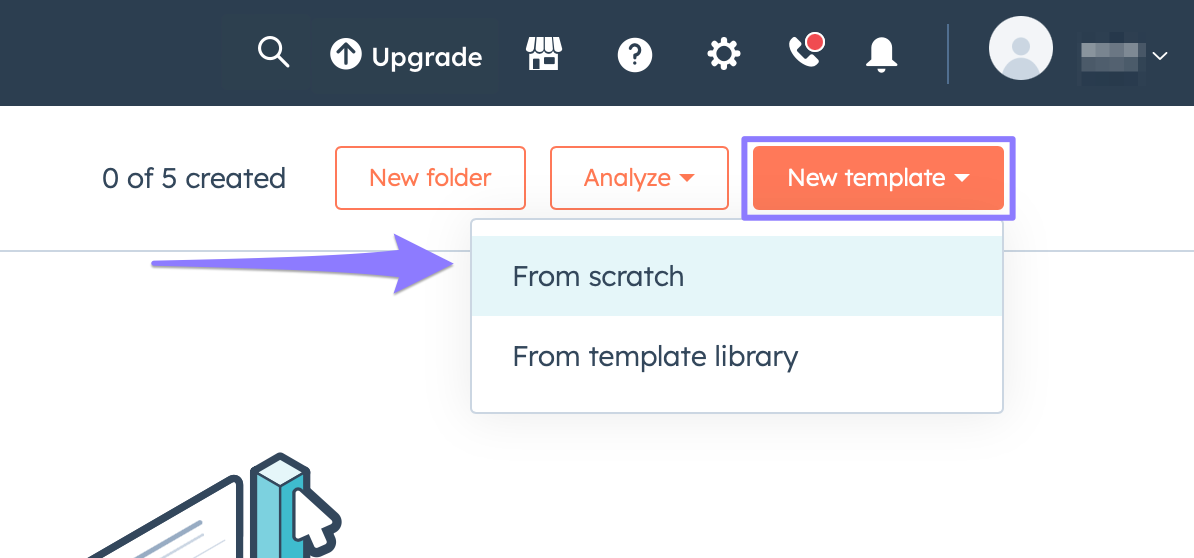
Step 2: Click New template and select From scratch. You can also check out the template library.
Step 3: Enter the email template name and subject. Compose the body of the email.
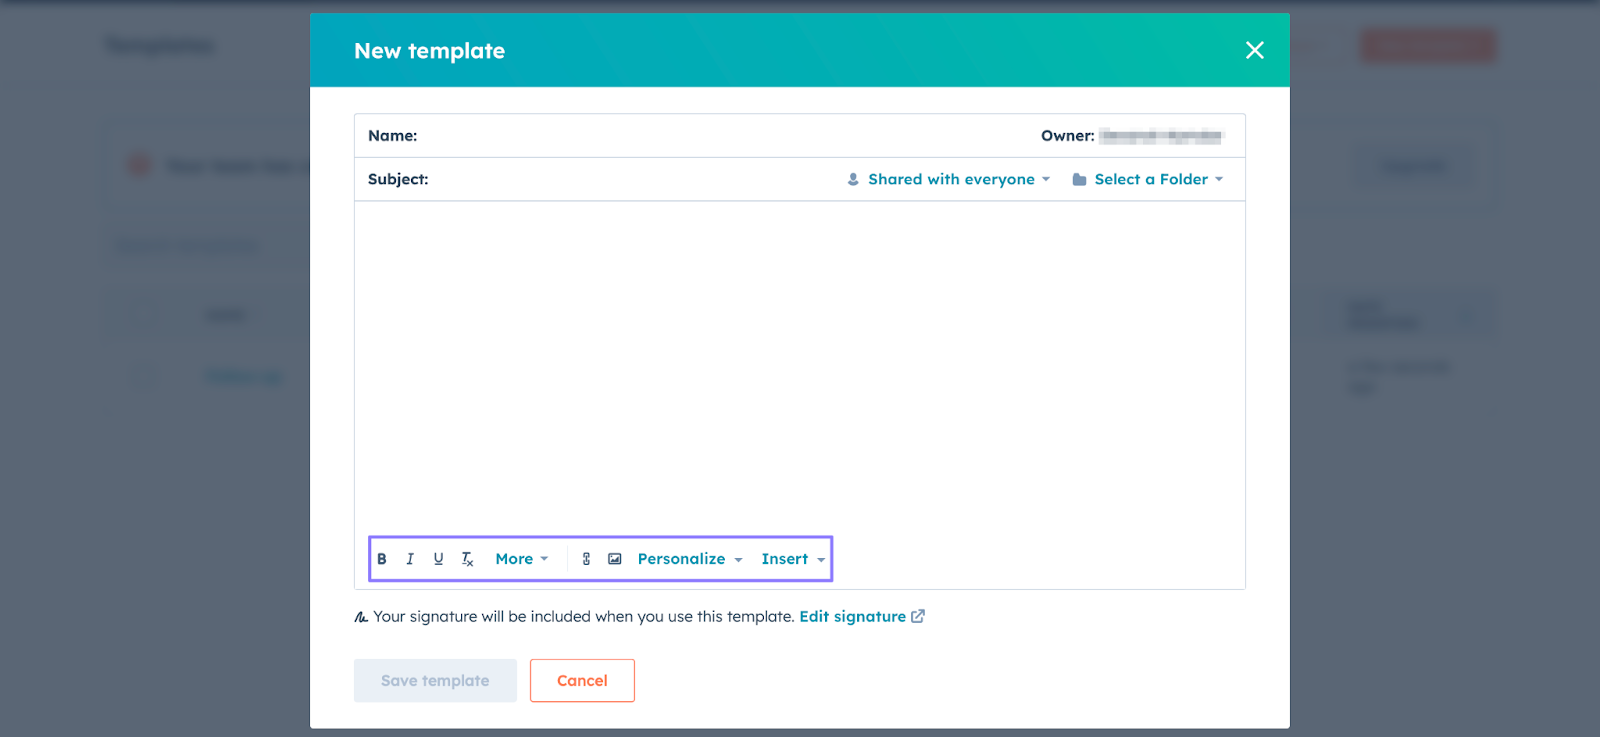
Step 4: Rather than being limited to basic text, we recommend you use the available formatting and editing options to create a consistent and dynamic template. Let’s go through each feature.
- Formatting: Guide your readers through the email and make it easy to understand using bold, italic, and underline formatting.
- More: Keep your emails consistent with your branding by changing the font style and size, text color, and alignment.
- Personalize: Dynamically insert recipient-specific details (like name and company) using personalization tokens, leveraging the available data to enhance engagement.
- Insert: Push the conversation further by adding snippets, documents, and meeting links.
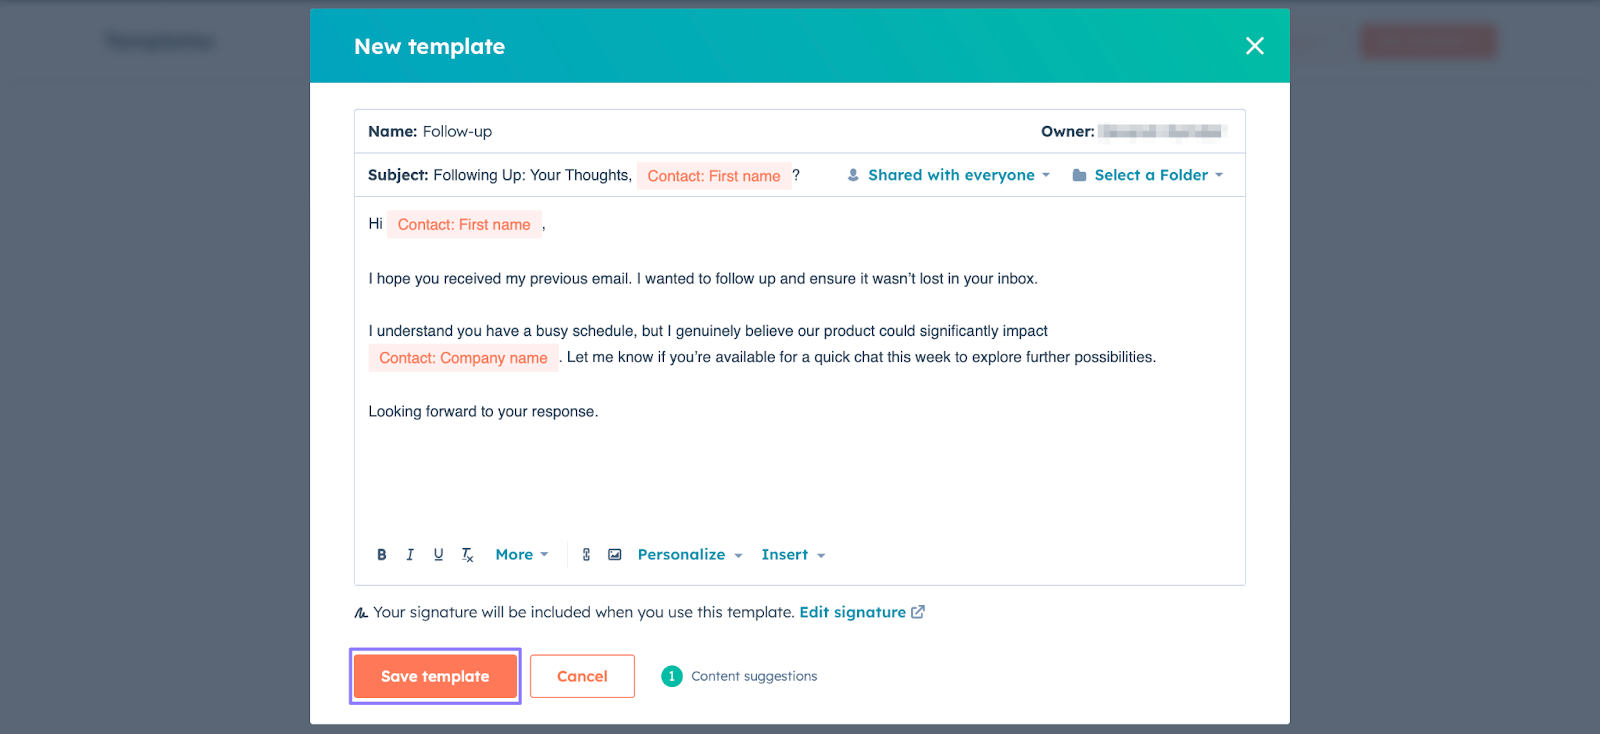
Step 4: Once you’ve completed the email template (check the Content suggestions box for tips to improve it), click Save template. Here’s a finished version.
Congratulations on creating your first HubSpot email template! Now, whenever you write an email to a contact, you can click the Templates tab at the top and choose the preferred template.

Remember to edit the content as necessary before you send the email.
How to create a folder to organize templates in HubSpot
Creating folders is a simple and effective way to keep your templates neatly categorized and easily accessible. Follow these steps to create a folder in HubSpot.
Step 1: Click Conversations in the top-left corner of the screen and Templates in the dropdown menu.
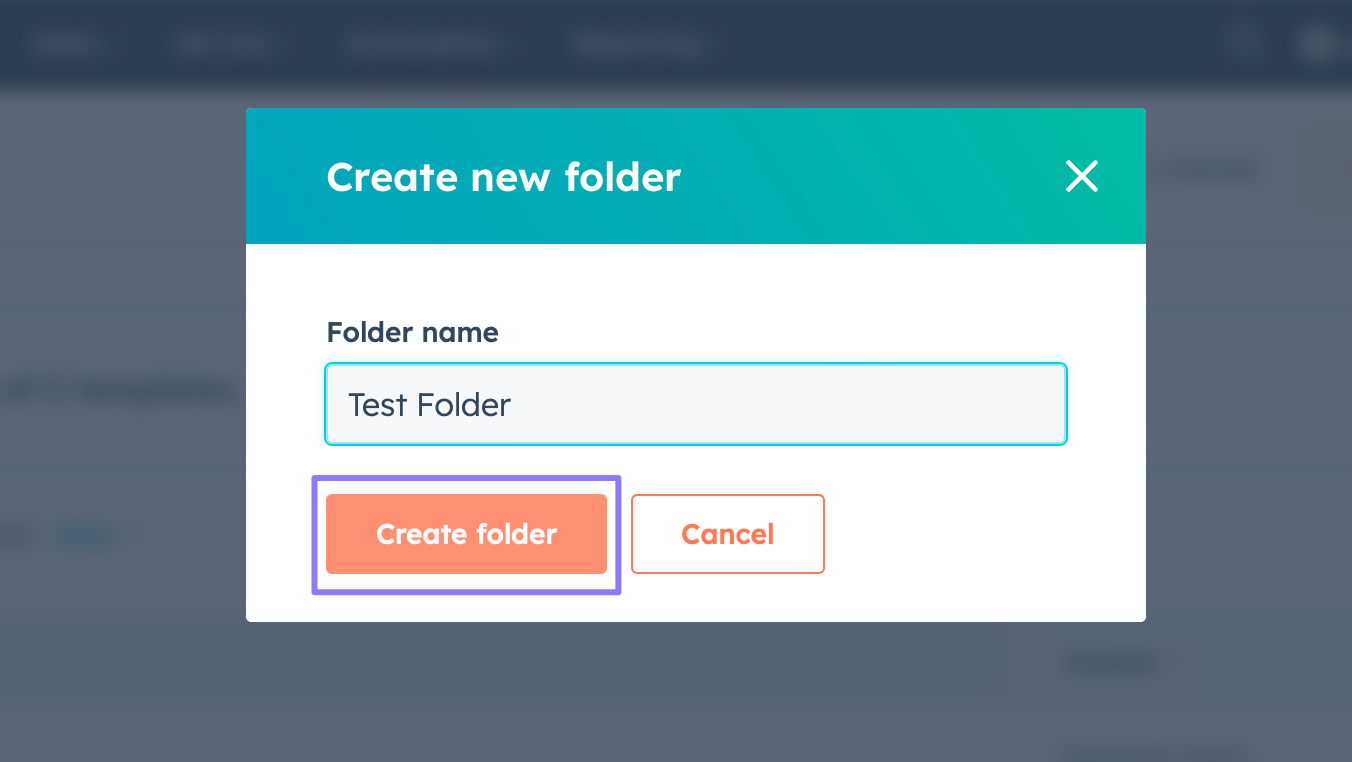
Step 2: Click New folder.

Step 3: Enter a name for the folder and click Create folder.
We’ll look at how you can move templates to folders in the next section.
HubSpot’s content assistant includes AI email writing software that multiplies your productivity.
How to delete, move, clone and manage sharing of a template in HubSpot
Efficiently managing your templates in HubSpot involves more than just creating folders. You may need to delete, move, clone, or share templates with team members. To do this, hover your mouse over a template and click Actions.
This will reveal four options: Clone, Move, Manage sharing, and Delete. Let’s define what each of these does and how to use them.
Clone
Cloning a template creates an identical copy of the original template. Once you click Clone, you can specify a name for the cloned template and save it in a folder.
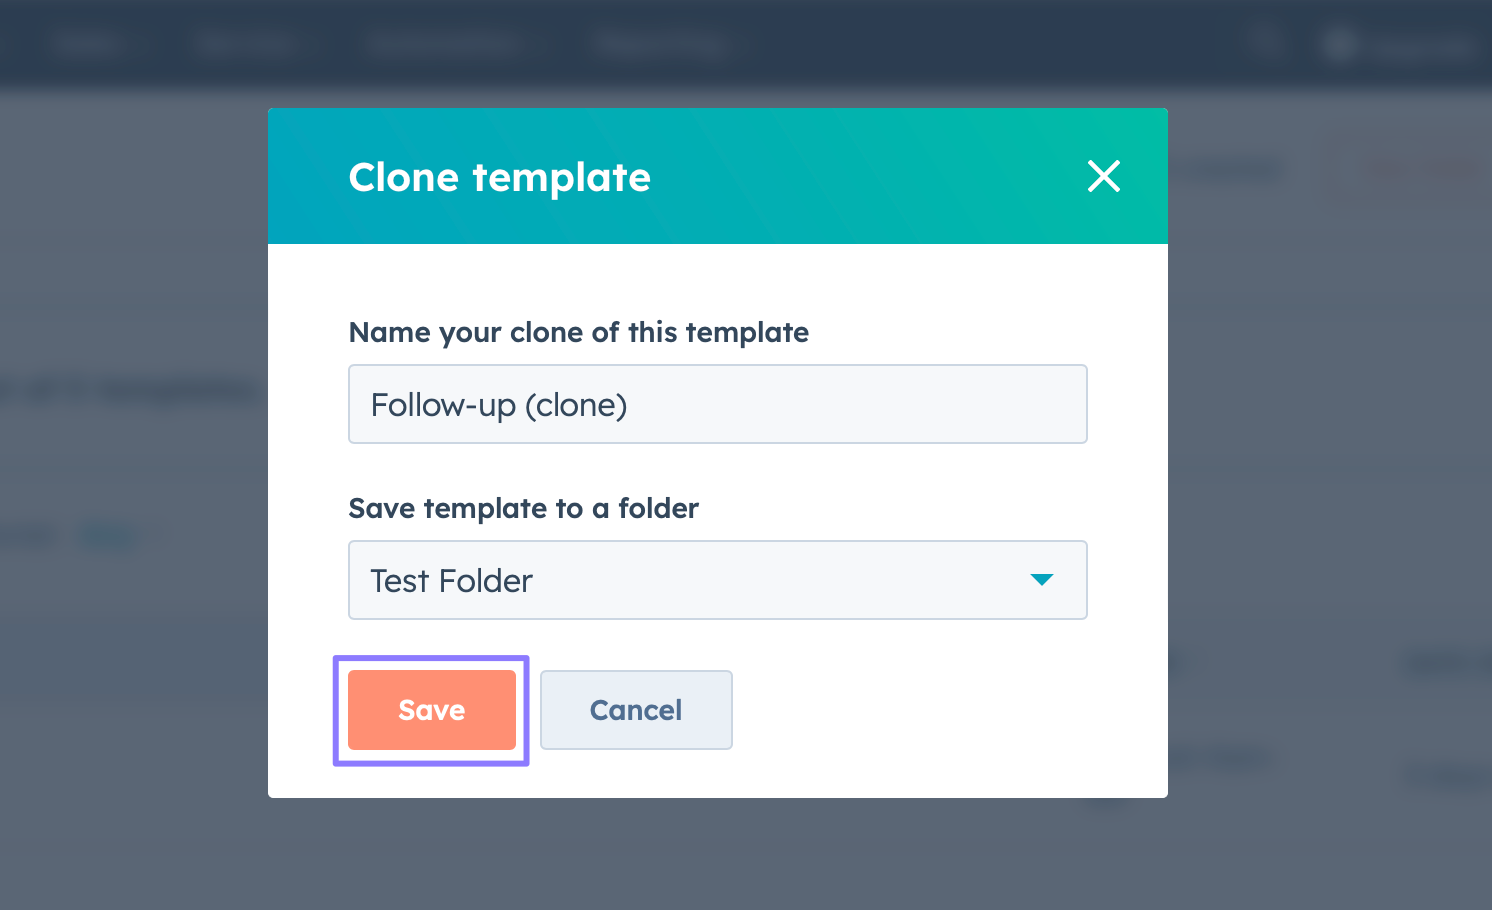
This duplicate template will retain the content, layout, and settings of the original, allowing you to experiment or make variations while preserving the original template.
Move
You can add a template to a folder using the Move option. Once you click it, pick the destination folder for the template and click Move to confirm it.

If you want to move multiple templates into a folder, select all of them and click Move to folder.

Beyond organizing your templates better, the Move option is particularly helpful when you’ve created a new folder structure or want to reorganize your templates for improved accessibility.
Manage sharing
It’s important to control the access and permissions for a template to ensure that only authorized individuals have the ability to make changes to it. Click Manage Sharing to specify who can view and edit a template.
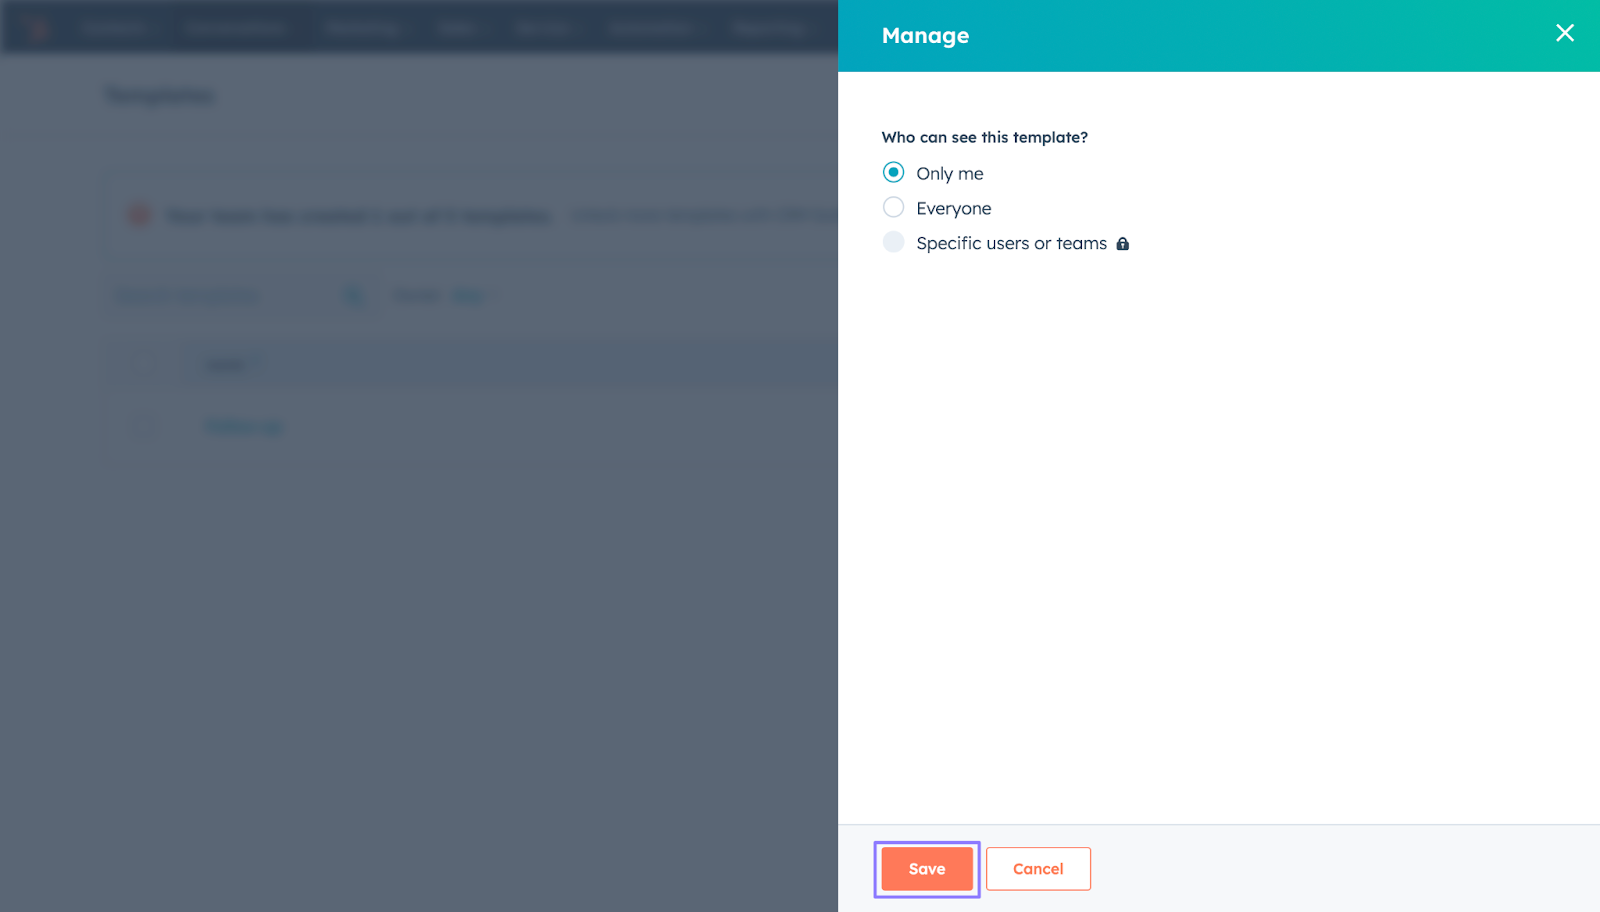
Overall, managing sharing helps maintain version control and prevents unauthorized alterations. It’s essential to check if you’re collaborating with team members.
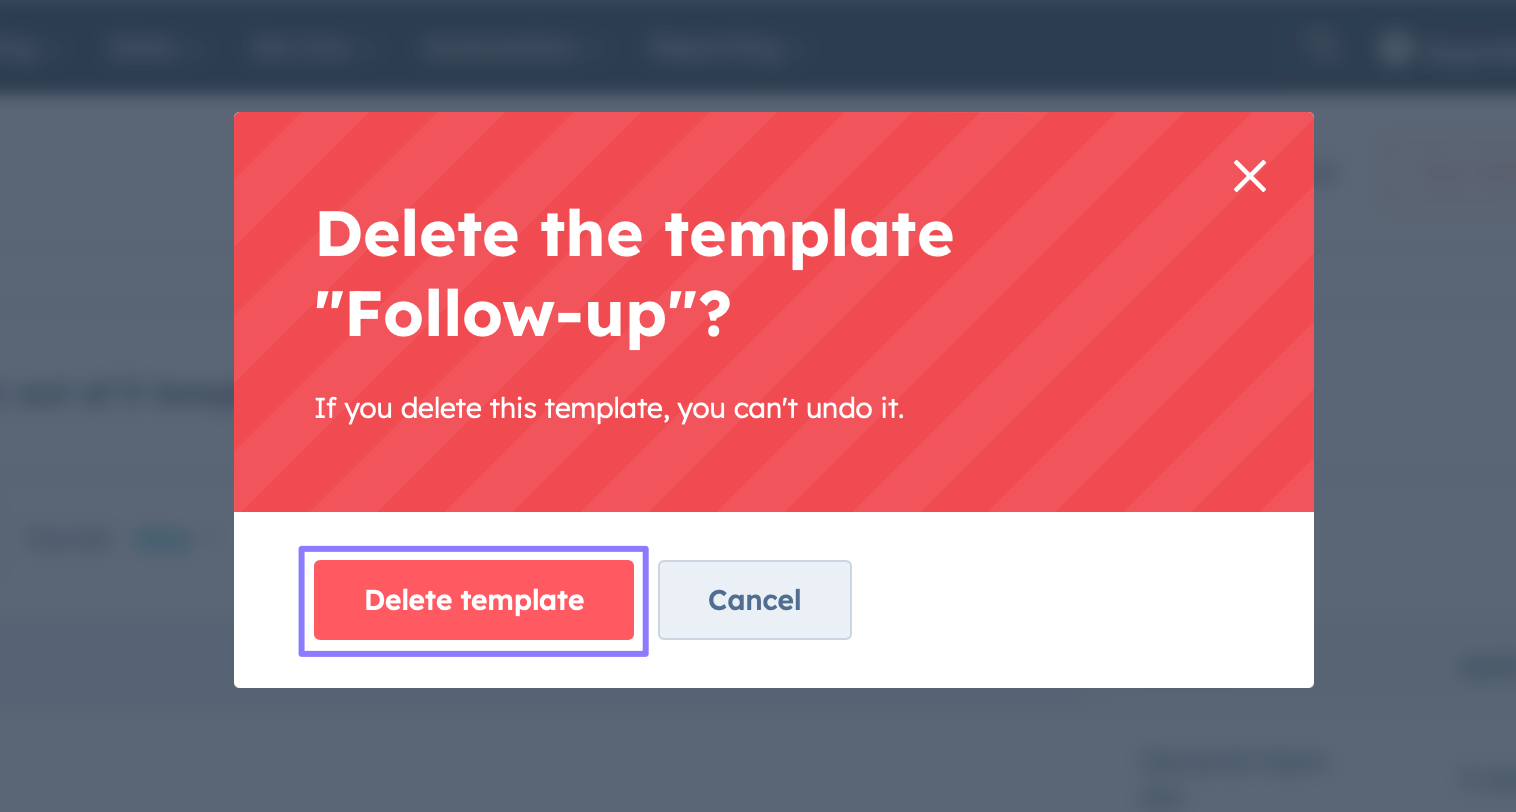
Delete
If you’re sure that a certain template no longer serves a purpose, deleting it is a good option to declutter HubSpot and make the important templates more easy to find. Click Delete and Delete template to confirm the deletion.
Effectively utilizing these management options ensures your templates are up-to-date, organized, and accessible to the right team members in your HubSpot workspace.
Can you use HubSpot email templates directly in Gmail?
Yes! If you’ve installed the HubSpot Sales Chrome extension, you can use email templates in your Gmail inbox. Click Templates below the subject line in the composer window and choose your preferred template.
Check this article to learn how to connect and add HubSpot to Gmail.
Leverage AI to generate marketing and sales emails
Imagine never having to write an email from scratch ever again. Sounds amazing, doesn’t it? Bardeen, an AI-powered workflow automation extension in Chrome, makes this possible.
Since Bardeen is integrated with OpenAI, HubSpot, and Gmail, it can scan any email or contact and use GPT to generate a personalized email based on your prompt. Before we discuss how you can do that, you may want to install it.
Now, here are some automations you can use to generate marketing and sales emails using Bardeen.
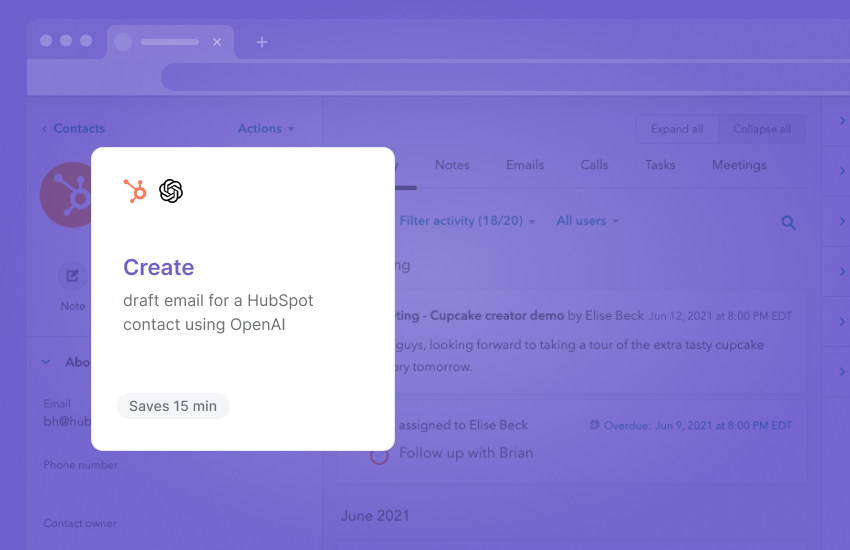
Use this automation when writing an email to a HubSpot contact. Bardeen will scan the contact and use your prompt to generate a personalized email with their name and other details. See this article to write outreach emails using AI.
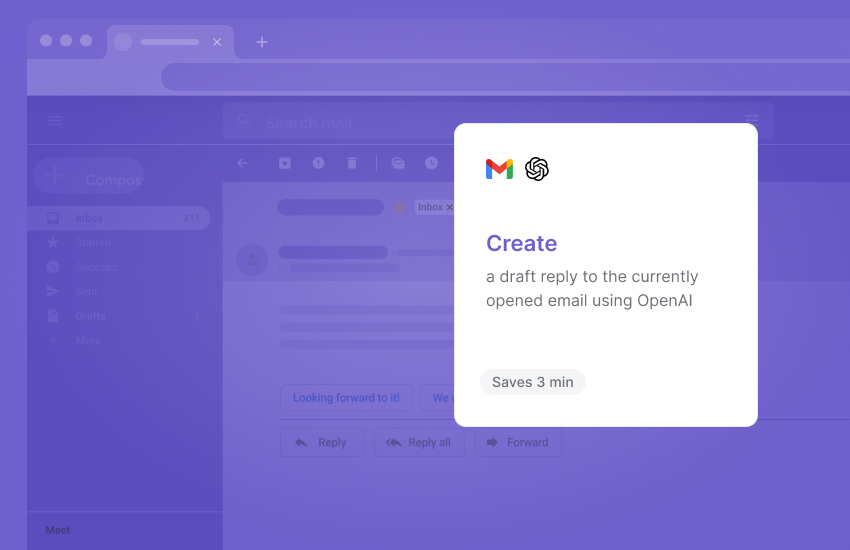
We all know those moments when we need to reply to an email but don’t have time to go through the full thread. With this automation, you can let AI do the hard work for you. Check this page for more Gmail and HubSpot automations.
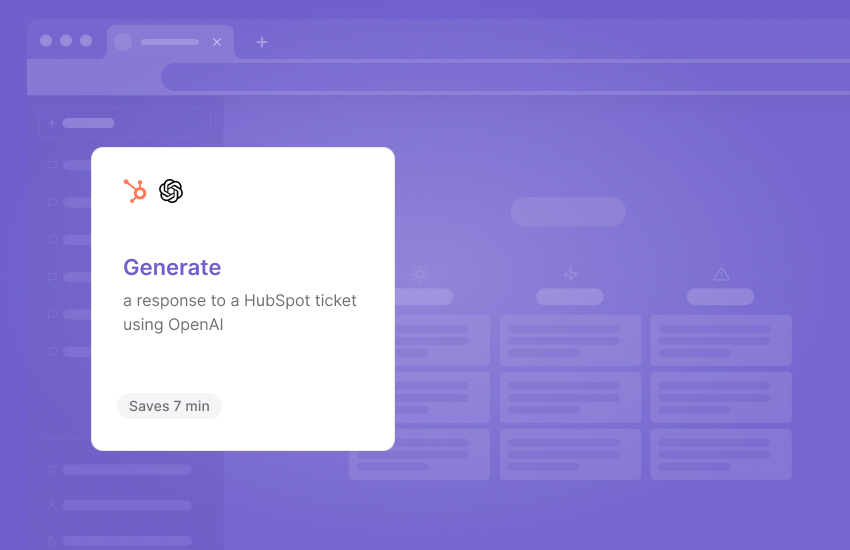
Yes, you can also use AI to reply to HubSpot tickets! The process is similar to the above automations: open the ticket, run the automation, and provide a prompt. This will speed up issue resolution and increase overall customer satisfaction.
If you want to streamline your HubSpot workflow further, see these articles to learn about more HubSpot automations and integrations. You can also create custom automations using simple text prompts with Magic Box.
HubSpot's email marketing tool allows marketers to easily create beautiful, personalized marketing emails.
Endnotes
So, there you have it. By following the above steps, you can create your own email templates in HubSpot that promote engagement and drive actions. To make it convenient to use templates, enable the HubSpot Gmail integration.
Take the first step toward embracing a more efficient email system and follow the above steps to create an email template. If you want ideas on how to write a persuasive email, check our article 25 outreach email templates for inspiration.


.jpeg)
.jpg)


